The Sales Order, sometimes abbreviated as SO, is an order issued by a business or sole trader to a customer. A sales order may be for products and/or services. Given the wide variety of businesses, this means that the orders can be fulfilled in several ways. Broadly, the fulfillment modes, based on the relationship between the order receipt and production.
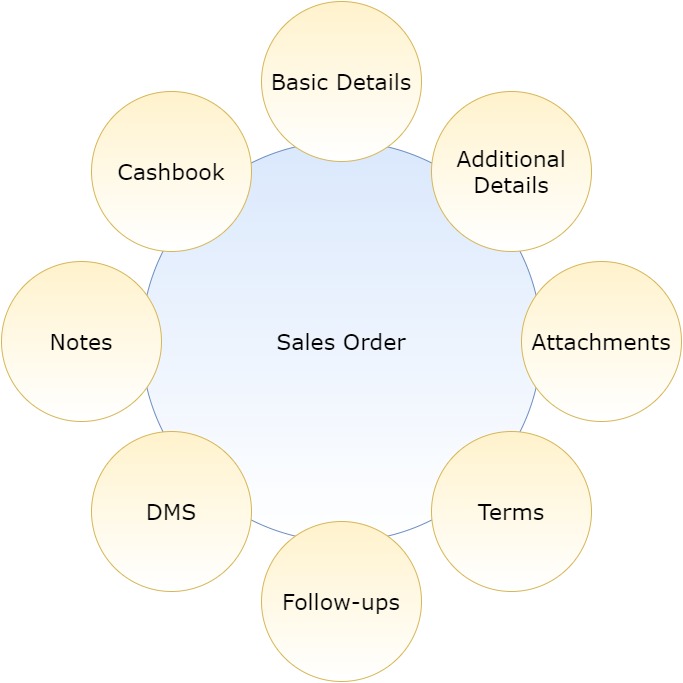
Modules included in this module. We haven’t shown Product as it is a default sub-section without which Sales Order is incomplete.
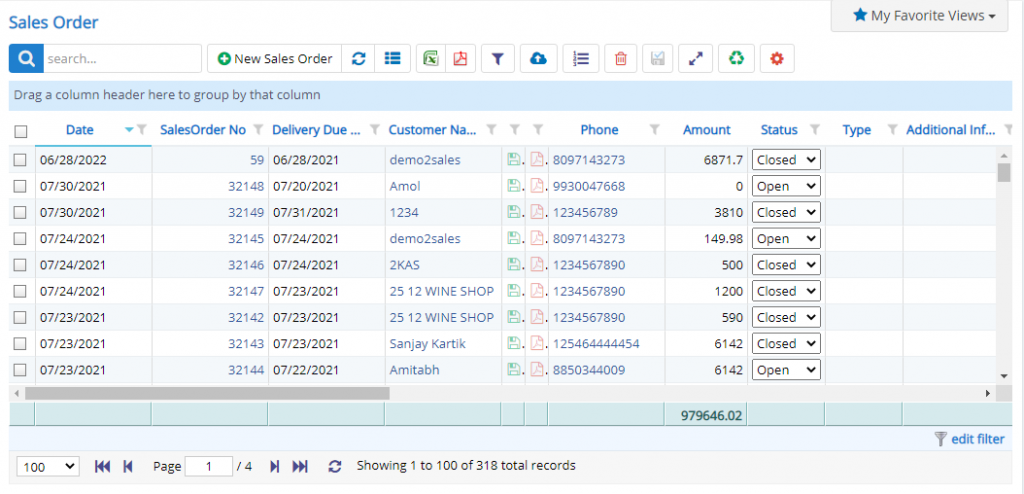
Here user can see the list of records already present in that form. Some common options like Excel export, PDF export, Filters, Detail view of Sales Order, bulk delete are provided here. These buttons/options are visible only when the permissions or settings are enabled. One more option Share aka Invoice proforma is given here.
Some fields in list are editable from list also, such as Status, Source, Stage, Branch, Assigned to. Even these fields are editable only when certain permissions related to the fields are granted to the user else these are non-editable fields.
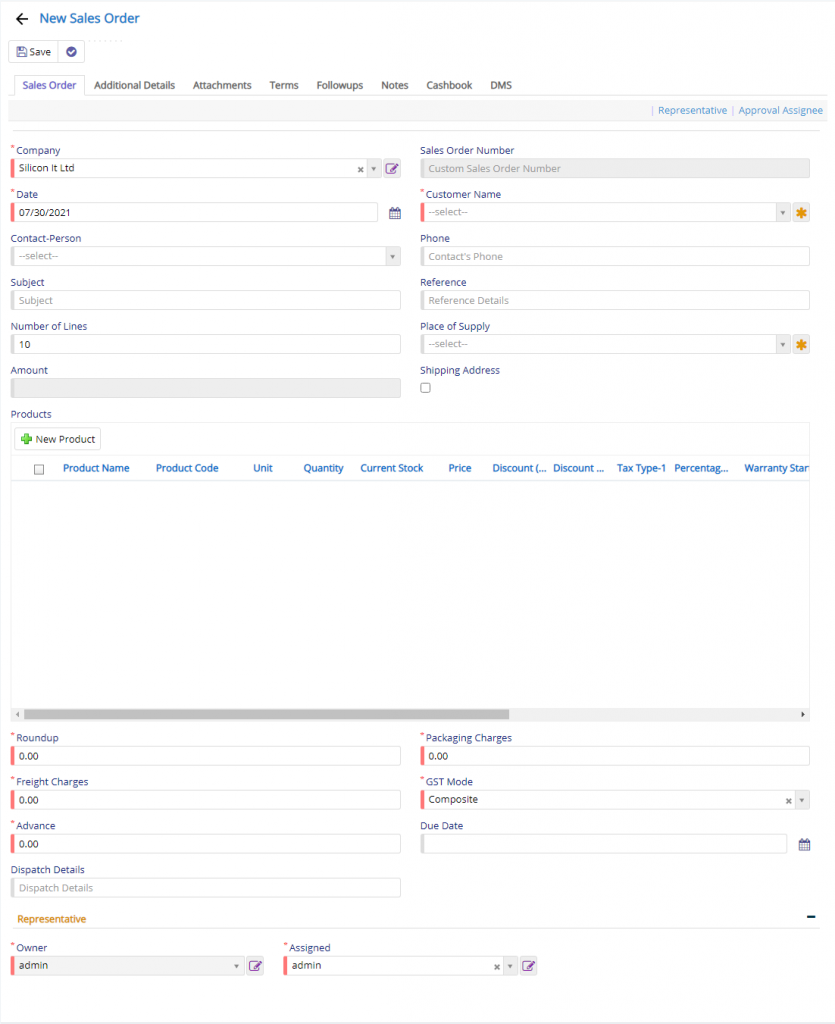
In this page project, company, Sales Order number, Date, Customer name, Subject, reference, Currency details, Discount details, place of supply, Shipping address, Printing options, Product details are entered. Apart from this you can add/update the Freight and Packaging charges, GST Mode (if you are using GST [Indian Continent settings in Company Details], Advance filed (will be visible only if enabled).
Company field will be visible only when you have enabled Multi-company in Company Details and on top of that, if it is enabled in Proforma module.
Sales Order Number is a custom number field. This field will be visible when the Custom number is enabled in Proforma Settings module. This is useful if you don’t want to use system generated sequence number instead if you want to continue with your own previous sequence number. This field will reset to 1 when the Financial year changes.
Approval fields will be visible only when One or Two Approval mechanisms are enabled.
Reset of the fields are quite self-explanatory.
The fields which are visible here may not be visible to you since these are settings dependent fields. They may be kept disabled or hidden as it not important to your business flow.
Now when you click the New Product button, it invoke a new window as shown below –
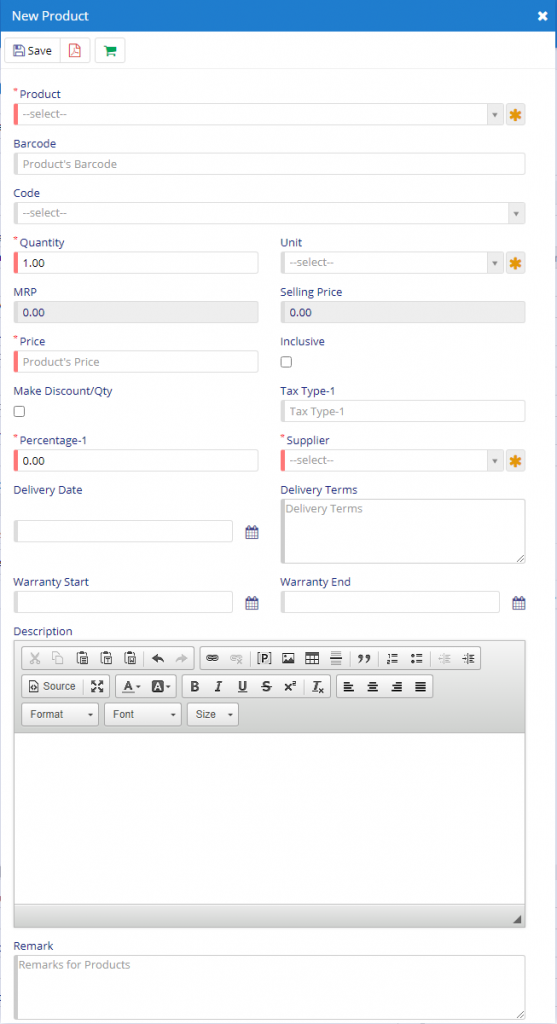
Product field will allow you to select a Product from Product Master which is already defined. This will also populate the required fields and yes, you modify that too.
Code field will also work in the same way. Product and Code can used interchangeably. The action to this field is very much similar.
Barcode field will allow you to add the product using a Barcode attached to a product. This will reduce your mouse clicks and tabs. This will perform the same action as that of Product and Code field.
Reset of the fields like Quantity, MRP, Base price, Fright, Fin, Disc. %, Amt, Tax details (these will vary based on GST Mode specified in Company Details), Currency details, Warranty details can be set by the user based on his/her business needs. These fields will be visible only when the settings or permissions are allotted to the user.
Along with this, in this dialog, you have option for Currency Conversion, Purchase History for the selected product, Godown details of selected product, options are provided.
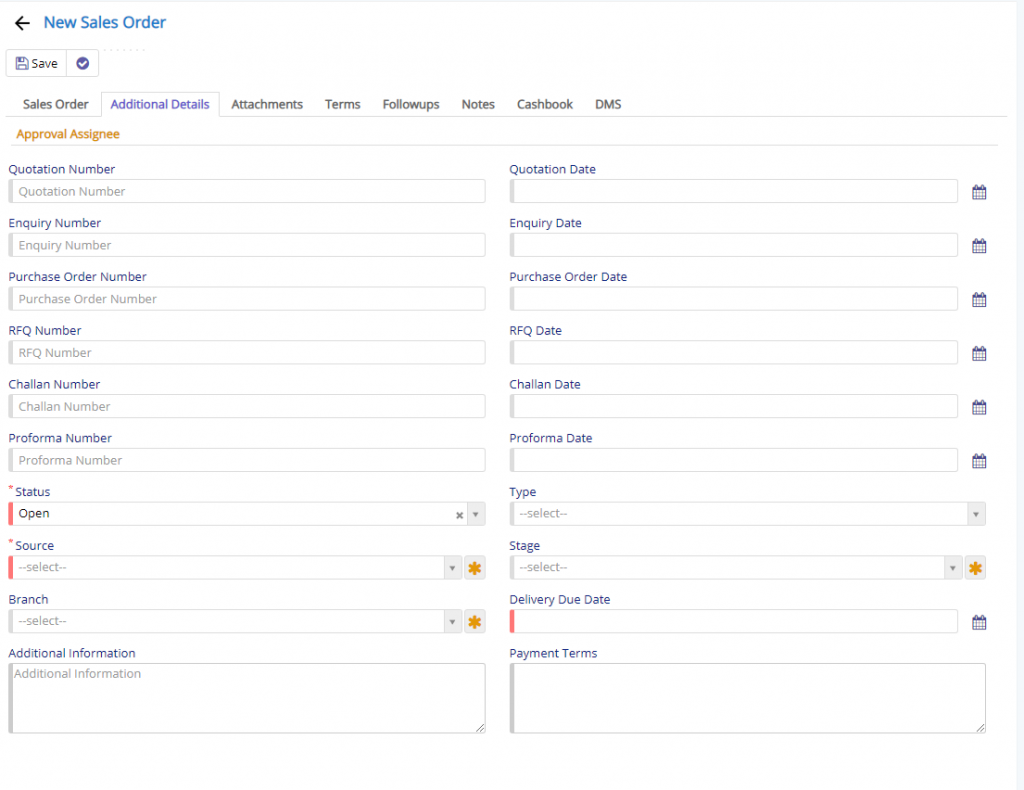
In this block, you have all the reference fields for module like Enquiry, Quotation, Challan, Sales Order and Proforma and RFQ. These fields will be automatically populated when you move an entry to Sales Order. Say, if you move an entry from Enquiry to Sales Order, then Enquiry Number and Date will auto populated. Enquiry Number or any other numbers related to modules are setting dependent. If the Custom number setting is enabled in respective settings of module then, based on the setting the number will be populated.
Rest all the fields are pretty self-explanatory.
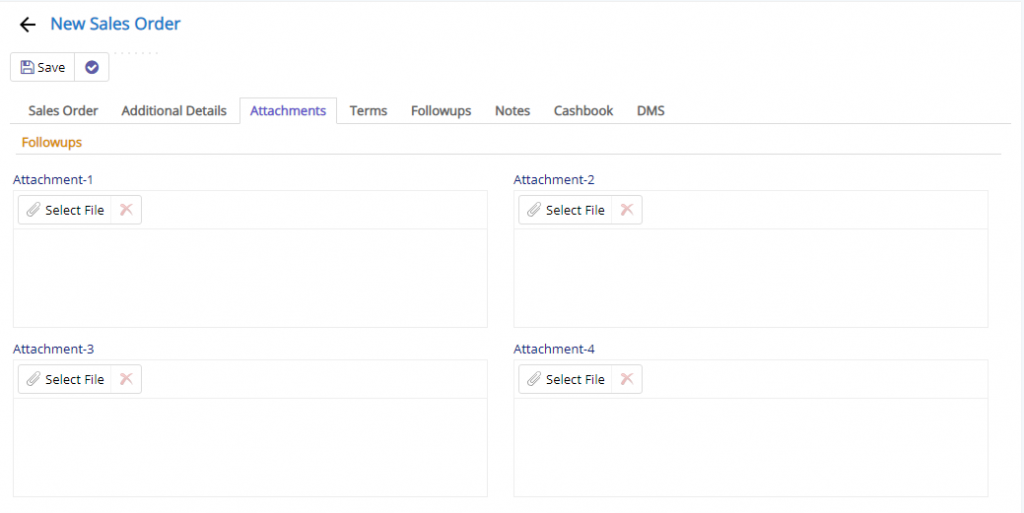
We have given option to upload additional documents for each record. Additionally, if you have some additional files you can do the same by using DMS tab.
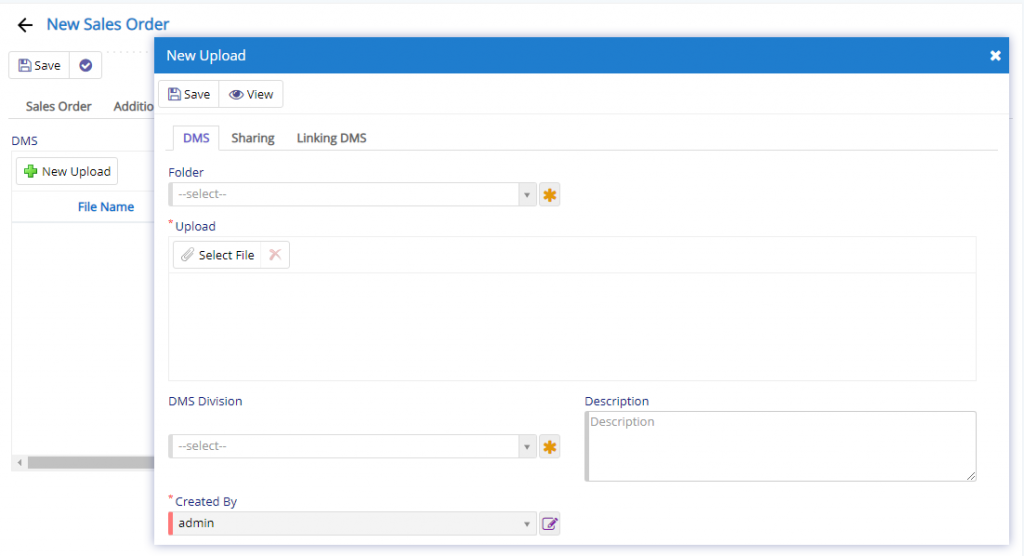
This section is visible under DMS Tab in Sales Order. To view and use the same you will need to enable in from Company Details under Settings tab.
This section will allow the user additional documents if needed and they have exhausted the four attachment fields that are provided. This will link the upload data with the Sales Order entry.
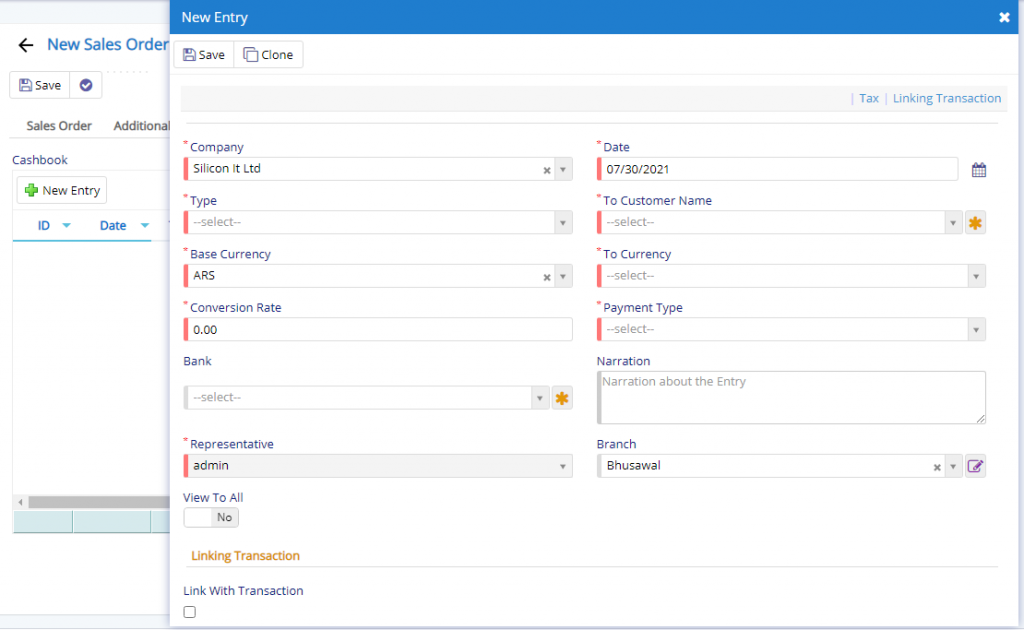
Next the Cashbook tab using which you add and entry to Cashbook regarding the Payment received by the customer against the Sales Order and the same can be done by enabling the switch as Link with Transaction. Cashbook dialog or window is very much the same as we have seen in actual Cashbook module.
Remaining tabs like Terms is a section where, additional terms can be defined by the user if needed.
Lets have a look at the toolbar at the top now –

- Starting from the left is the Update button which is used to update the changes that you have performed in any of the Tab. This button will change to Save when you are creating a new Entry.
- The Next button which is similar to Update button but the only difference is that, it performs the Update operation and remains on the same page. But the later Updates or Save and returns to the Grid displaying List of users. This button will change its meaning when you are creating a new entry. It will be called as Apply changes.
- The Next button is for Delete, this will delete the selected record from the database.
- Clone button will clone the currently opened record so that you don’t have to fill all the fields again thereby reducing your work of doing data-entry. But, this button is permission based and will appear only if the user has the permission to perform that action.
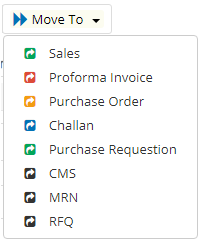
Move to buttons will have numerous operations and their visibility will vary based on module deployment.
- RFQ – SO will be moved to RFQ module for further processing.
- Sales – SO will be moved to Sales module for further processing.
- Purchase Order– SO will be moved to Purchase Order module for further processing.
- Proforma or Invoice – SO will be moved to Proforma module for further processing.
- Challan – SO will be moved to Challan module for further processing.
- CMS aka Ticket – Enquiry will be moved to CMS aka Ticket module for further processing.
- MRN – SO will be moved to Material Requisition level or module.
- PRQ – SO can be moved to Purchase Requisition module.
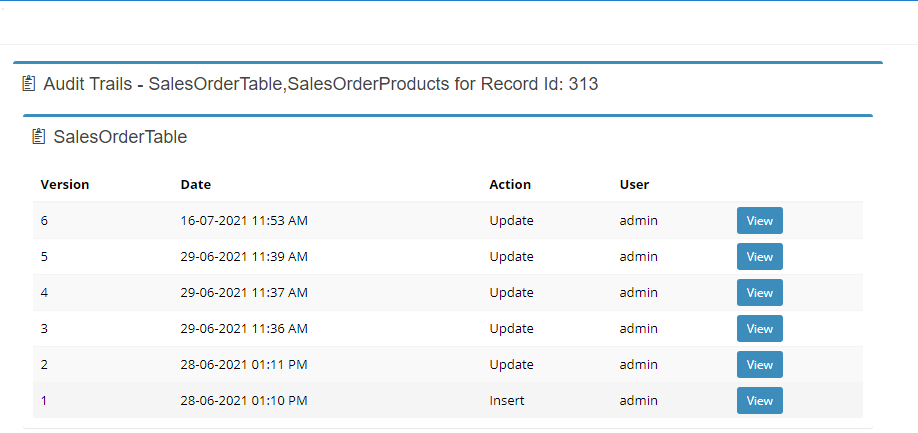
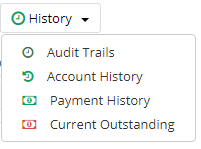
- Audit Trails – User can view the modifications done to the Enquiry record.
- Account History – This will display a detailed history of selected customer with current status of the selected customer wrt to Open Enquiry, Closed, etc are few to name.
- Current Outstanding – This will display the current outstanding for currently selected customer.
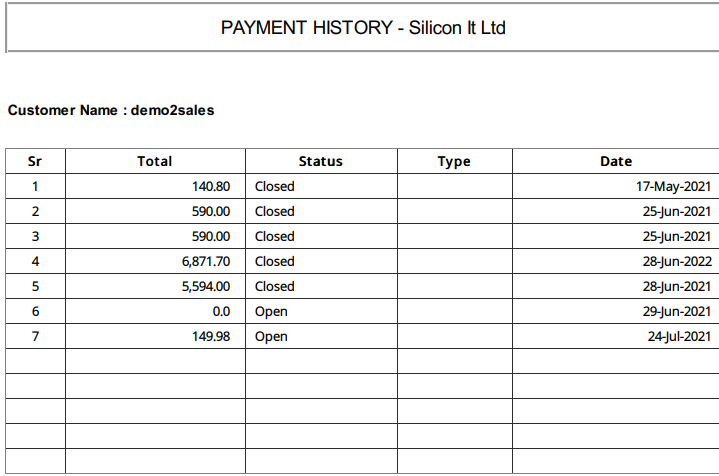
- Payment History will show the details for the selected customer containing the history of his payment pattern
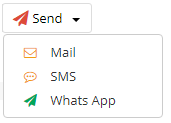
- Send via Mail – An email will be sent to the selected customer using registered Email ID if present in Contacts Master.
- Send via SMS – A SMS will be sent to the selected customer using registered Phone number if present in Contacts Master. Make sure, you subscribe to SMS feature and enable it in SMS Configuration module.
- Send WhatsApp Message – A message will be will be sent to the selected customer using registered Phone number if present in Contacts Master. Make sure you enable either Gupshup or Twilio integration with Nafhaa to use this feature.
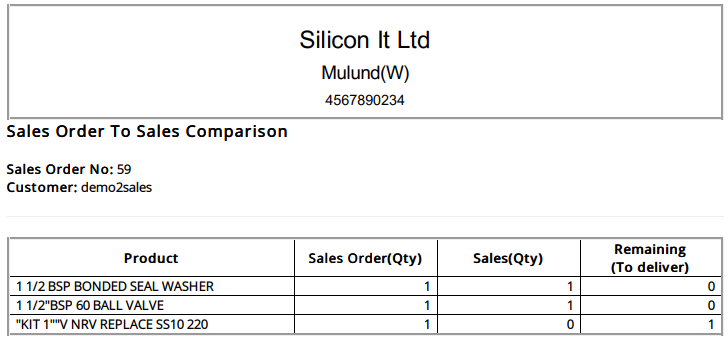
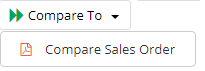
This will compare the Sales Order with actual Sales. How is still pending and how much is yet to be delivered.
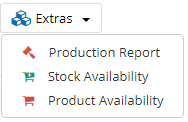
- Stock Availability – This button will invoke a new page showing the availability of the product currently added under the existing Sales Order. This will give the user a fair idea of the product status.
- Production Report – This will display the report regarding the production status of the products specified in SO.
- Product Availability – This will allow the user to view availability status of the products added to list of SO.
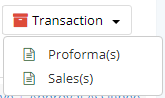
There are options like Sales and Proforma which will open an independent grid in relation with the opened Sales Order.
Following are all settings connected to this module:
| Enable Check & Forward |
| Enable Supplier Details per line items |
| Enable Supplier details |
| Enable Custom Numbering |
| Remove default footer |
| Hide challan no and date |
| Hide Proforma No and date |
| Enable Advance received in Sales Order |
| Enable Additional Description In Sales Order Products |
| Enable Title of sales order |
| Enable Move to CMS in Sales Order |
| Enable Bid management |
| Enable schemes in sales Order |
| Enable Credit Limit validation in sales Order |
| Credit limit Overdue Days Stage 1 |
| Credit limit Overdue Days Stage 2 |
| Enable quantity in Case and Nos in Sales Order |
| Enable FOC in Sales Order |
| Enable TCS in sales Order |
| Enable Display MRP in Sales Order |
| Hide reference no and dates in Sales Order |
| Hide Place of Supply in Sales Order |
| Make Stage mandatory |
| Hide packaging Charges in Sales Order |
| Hide Freight Charges in Sales Order |
| Hide GST Mode in Sales Order |
| Hide Advance in Sales Order |
| Hide Due Date in Sales Order |
| Hide Dispatch Details in Sales Order |
| Hide type in sales Order |
| Hide Delivery Due Date in Sales Order |
| Hide payment terms in Sales Order |
| Hide Attachments Tab in sales Order |
| Hide terms Tab in sales Order |
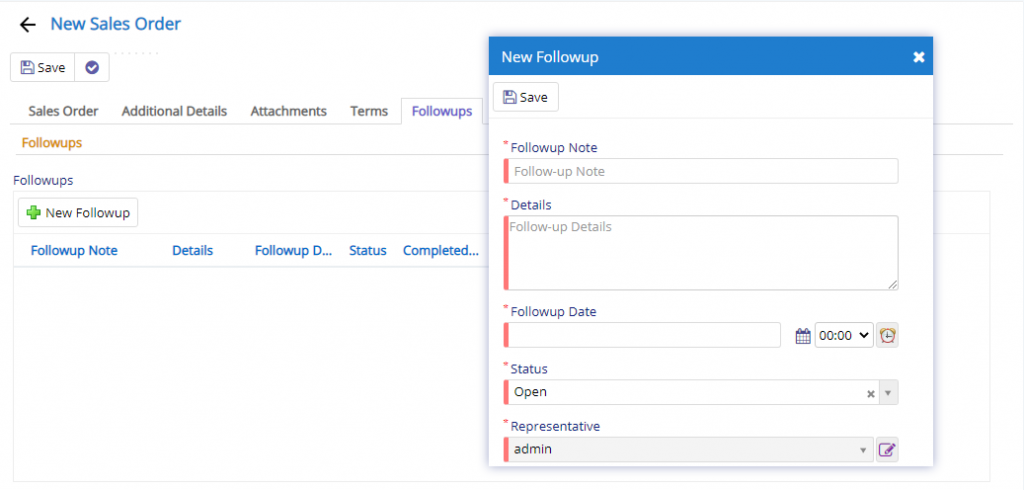
| Hide Followup tab in sales order |
| Enable Multi Assign In Sales Order |
| Enable Scope of Work in Sales Order |
| Enable Special Note in Sales Order |
| Enable Auto Schedular in Sales Order |
| Cut Off Time Auto Schedular in Sales Order |
| Emails for Auto schedular in Sales Order |
| Enable Separate invoice Per Subdivision |
(Note: The name of settings itself indicates the effect of this setting)
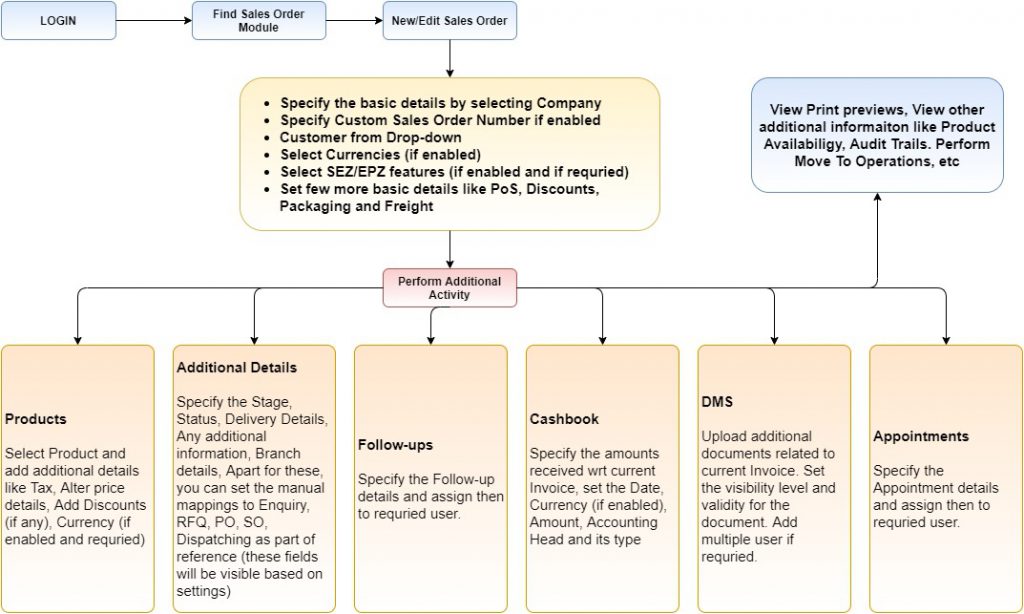
Generalized flow of Sales Order Module