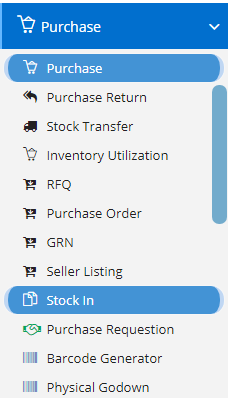
Stock In module is used to Quickly add the products which were purchased by you. The products added here will be reflected in the Purchase Module. This Module is a part of Purchase.
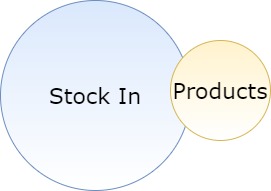
Modules included in this module. We shown Product as it is a default sub-section without which Stock is incomplete.
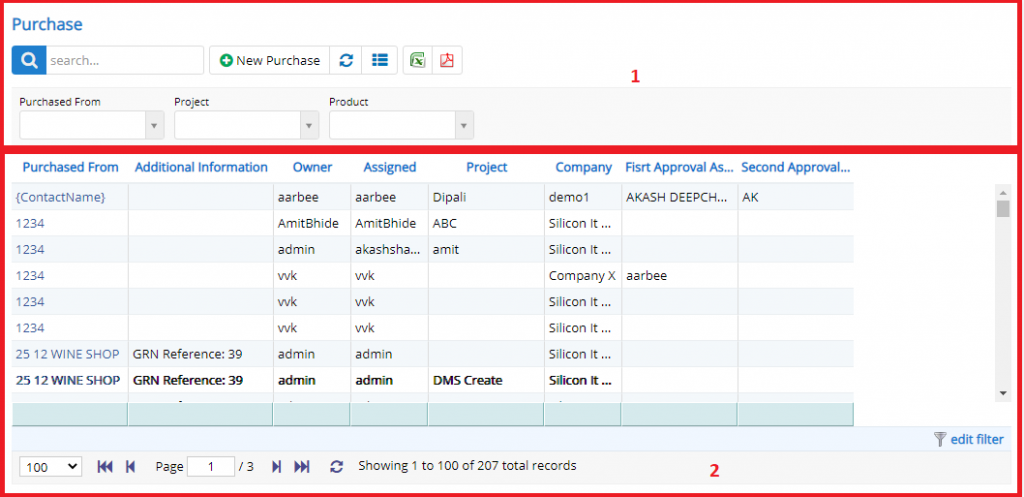
- Annotation – 1 shows few elements like Search, New Stock-In, Refresh and Column Selector (will describe later in the chapter).
- Search Text box is used to search a specify or similar users form the list below. When you start entering characters it will start searching within the Stock-In Module.
- Refresh Button is used to reload the Stock-In Grid or Table so that the changes which are made to any user will be reflected on the grid.
- The Excel and PDF are for downloading the Stock-In Grid as Excel or a PDF. These files will contain all the columns are which are visible Stock-In Grid.
- Filters with drop-down feature for the fields like Purchase From, Product, etc. are few to name. On the other hand, fields which deals with Dates are given two fields as a part of Date range selection. You can use these filters in combination to filter the records.
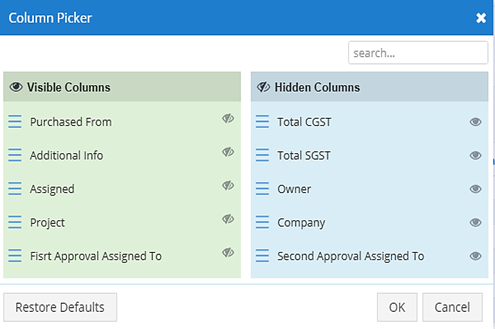
- Column Selector is used to select one or multiple columns from the range of columns. Following is the image for the Column selector. Note – The columns shown in the filter will keep on changing as and when Nafhaa Platform makes changes to the module.
- Annotation – 2 shows the list of all the Stock-In records that have been created where the user can click record to open it and edit it if needed.
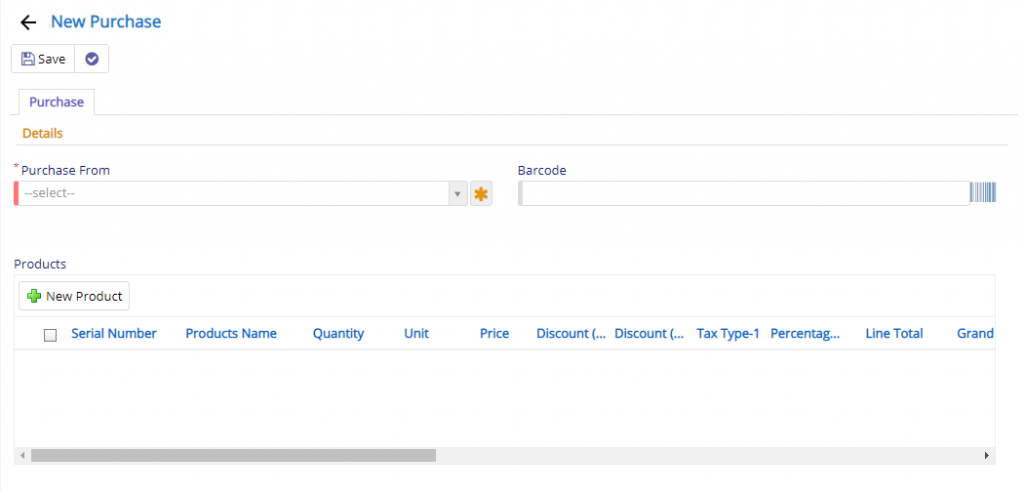
- Purchase From field will used to define the organization or vendor through which the products are purchased.
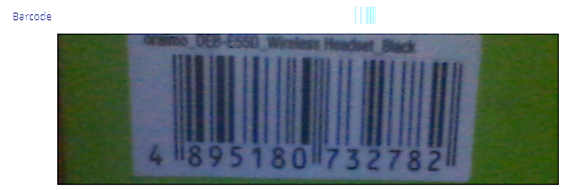
- Barcode code field will allow you type in the barcode for the product and it will automatically add it to the Product list below. When you click the Barcode button next to the field you will get to see something like this as show below. Below is the sample image for you reference.
The next field is Product field is where you can define the same manually and you will be provided with the following window.
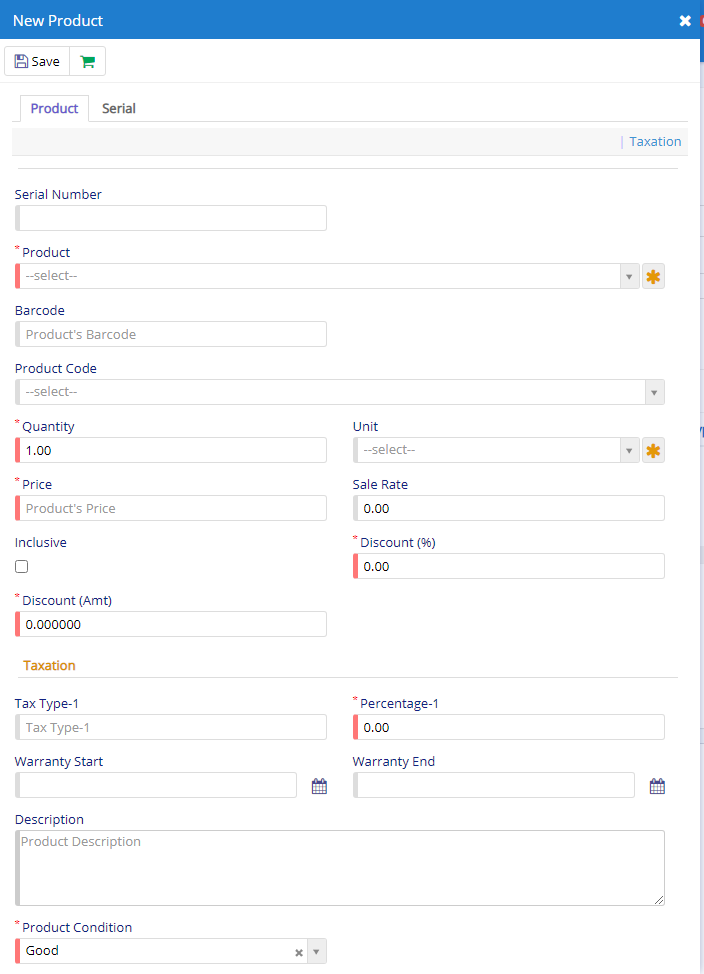
- Product field is used to select the product and it will automatically populate other fields.
- Fields like Secondary Unit, Rack, Product Condition and Product Grade will visible only if their respective settings are enabled in the Company Settings.
- Warranty Start and End Date can be set for a product.
- Some fields are settings and permission dependent and hence, they may or not be visible to individual users.

- Starting from the left is the Update button which is used to Save the changes that you have performed. This button will change to Save when you are Creating an Entry.
- The Next button which is similar to Update button but the only difference is that, it performs the Update operation and remains on the same page. But the later Updates and returns to the Grid displaying List of Stock-In. It will be called as Apply changes.
- The Next button is for Delete, this will delete the selected record from the database.