A request for quote (RFQ), also known as an invitation for bid (IFB), is a process in which a company solicits select suppliers and contractors to submit price quotes and bids for the chance to fulfill certain tasks or projects. The RFQ process is especially important to businesses that need a consistent supply of a specific number of standard products. Companies may send RFQs alone or before a request for proposal (RFP).
- A request for a quote (RFQ) is a business process in which a business solicits quotes from select suppliers and contractors for a specific task or project.
- An RFQ can be sent alone or in tandem with a request for proposal (RFP).
- A business generally sends an RFQ when the quantity for a standard product is known and needs are ongoing.
- RFQs do not generate unsolicited bids and quotes as businesses target specific vendors and contractors.
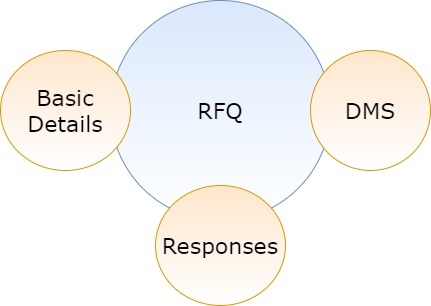
Modules included in this module. We haven’t shown Product as it is a default sub-section without which RFQ is incomplete.
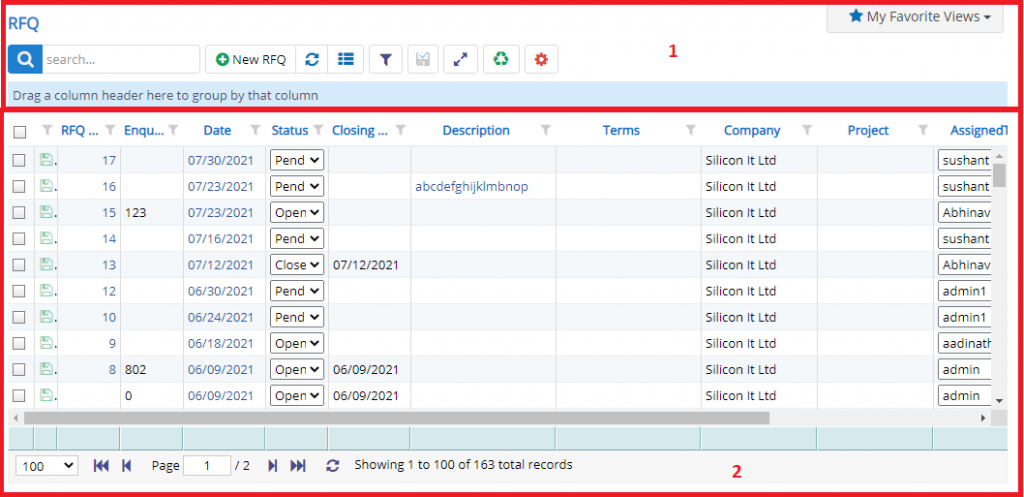
- Annotation – 1 shows few elements like Search, New RFQ, Refresh and Column Selector (will describe later in the chapter).
- Search Text box is used to search a specify or similar users form the list below. When you start entering characters it will start searching within the RFQ Module.
- Refresh Button is used to reload RFQ Grid or Table so that the changes which are made to any user will be reflected on the grid.
- The Excel and PDF buttons are for downloading the RFQ Grid as Excel or a PDF. These files will contain all the columns are which are visible RFQ Grid.
- Filters with drop-down feature for the fields like Enquiry Number, Company, Project etc. are few to name. On the other hand, fields which deals with Dates are given two fields as a part of Date range selection. You can use these filters in combination to filter the records.
- Column Selector is used to select one or multiple columns from the range of columns. Following is the image for the Column selector. Note – The columns shown in the filter will keep on changing as and when Nafhaa Platform makes changes to the module.
- Annotation – 2 shows the list of all the RFQ records that have been created where the user can click record to open it and edit it if needed
- Project and Company field will allow the user to set the Project and for which Company the RFQ is being created. Please note – These two fields will be visible only if they are enabled in Company Details Settings page. You can skip these field if you are a single organization and if you are not using Project Management.
- RFQ Number field is used to set the custom Numbering for each RFQ. This field will auto generate the next number based on the date and Financial Year and if change the date and if that date falls in some other Financial year then this number will change its values based on the next number that is available.
- Date and Due Date field is used to set the date of RFQ when it is generated usually, it is set to current date. The next field is used to define the Due date for the RFQ.
- Status field will allow the user to set the Status of RFQ. Possible values for this field are Open, Closed, Pending, Parked and Expired. You can select any one of them based on the situation of RFQ.
- Enquiry Number and Date – These two fields are optional fields and will be visible only if they are enabled in Company Details Settings page. Here, you can specify the Enquiry Number and Date and connect the RFQ with the specific Enquiry.
- Description and No. of Lines fields are used to print additional details and lines on RFQ Print PDF respectively.
- Assigned field is used to denote the Assignment of the Current RFQ to a specific user.
- Terms field is used to specify Terms and Conditions which will appear in RFQ Print PDF.
- Products field will allow you to add Products to RFQ Entry. When you click New Product button following window will invoke.
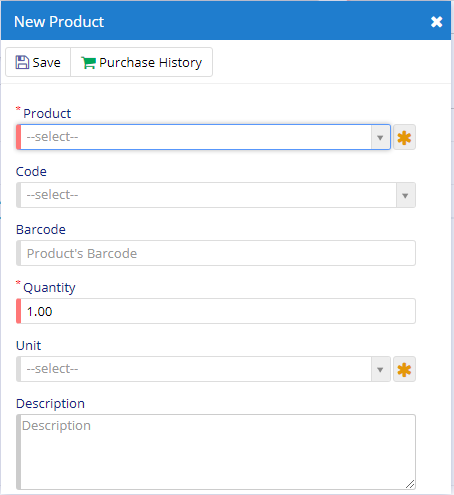
- Here, you can select the Product Name and rest all the fields will be auto populated based on selection but you can make changes accordingly and add description if you want to do so.,
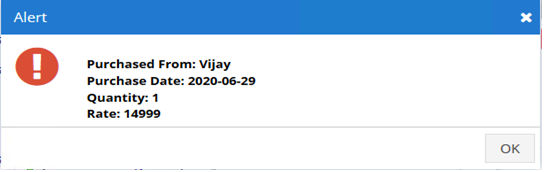
- Purchase History button will show you the previous purchases done for the currently selected product.
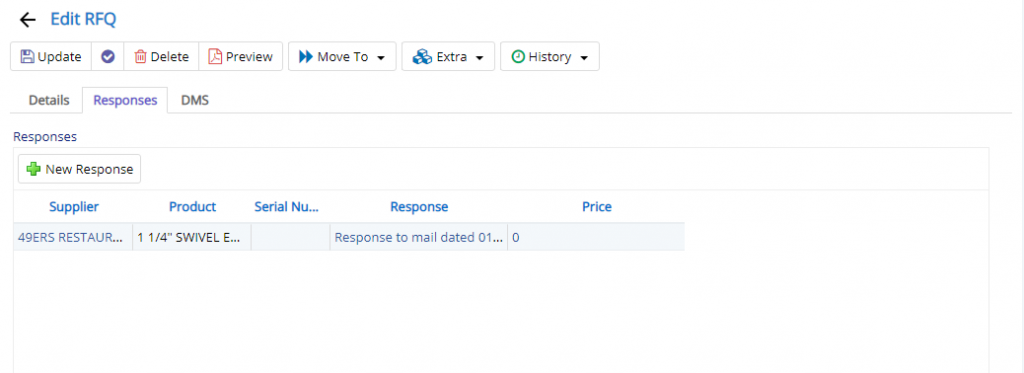
Here, in this tab you can add Responses received through various vendors with their relevant details.
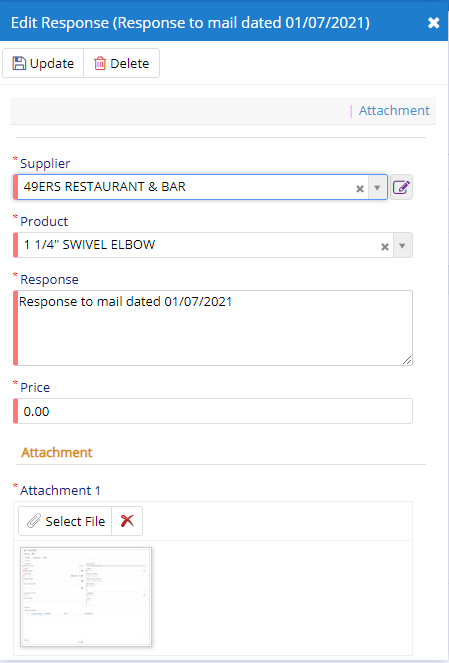
Here, in this dialog you can select the Supplier and Product associated with that Supplier and its Response and the Price tag the vendor is offering. Additionally, you can add an attachment for the response and this field will be only available when it is enabled in RFQ Settings page.
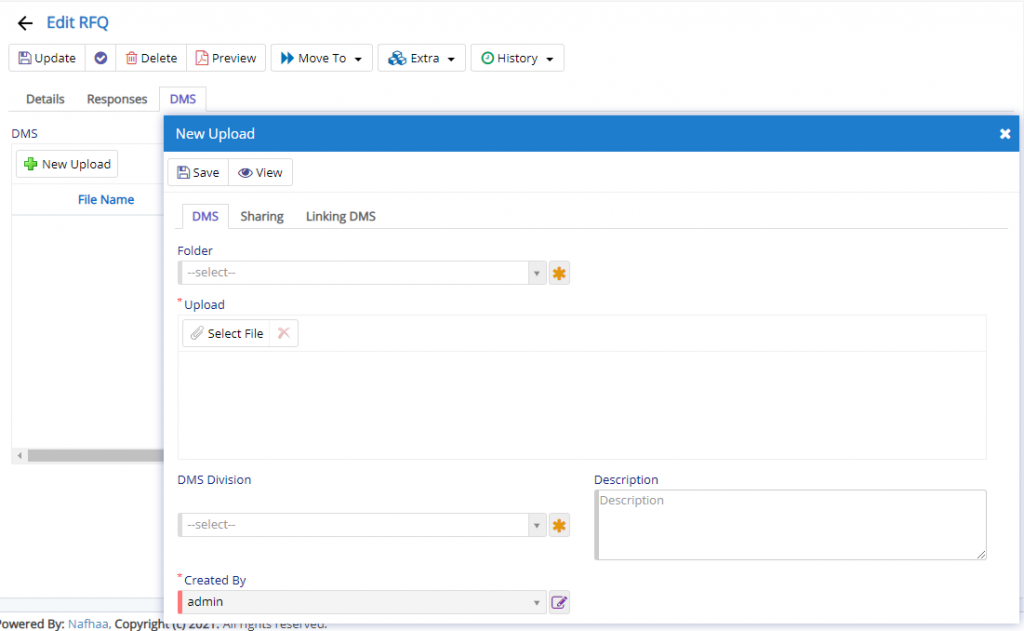
This section is visible under DMS Tab in Purchase. To view and use the same you will need to enable in from Company Details under Settings tab.
This section will allow the user additional documents if needed and they have exhausted the attachment fields that are provided. This will link the upload data with the Purchase entry.

- Starting from the left is the Update button which is used to Save the changes that you have performed. This button will change to Save when you are Creating an Entry.
- The Next button which is similar to Update button but the only difference is that, it performs the Update operation and remains on the same page. But the later Updates and returns to the Grid displaying List of RFQ . It will be called as Apply changes.
- The Next button is for Delete, this will delete the selected record from the database.
- Preview button is used to render a PDF view for the currently opened RFQ. This button will be visible in Edit Mode only.
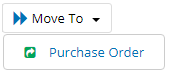
- Purchase Order – RFQ will be moved to Purchase Order module for further processing of Purchasing the items.
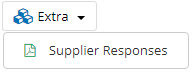
Supplier response for each products will be displayed with the details.

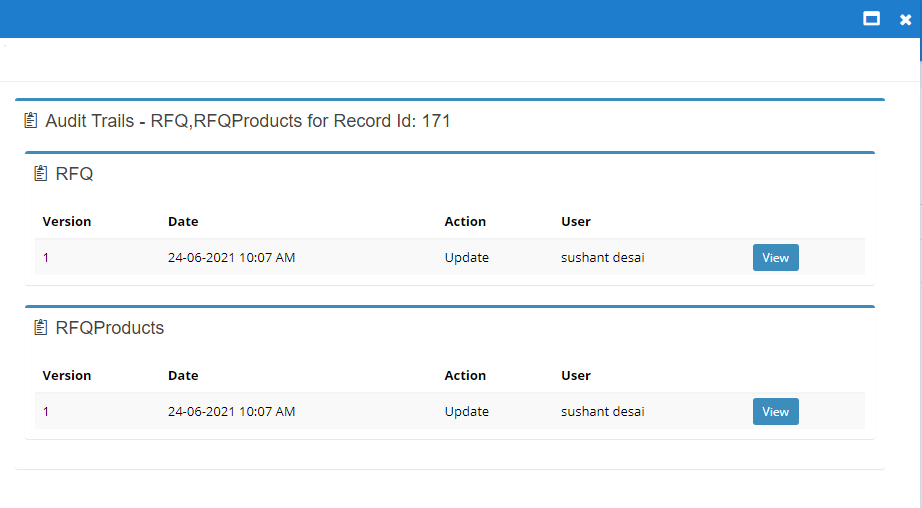
Audit Trail will display the modifications done to RFQ
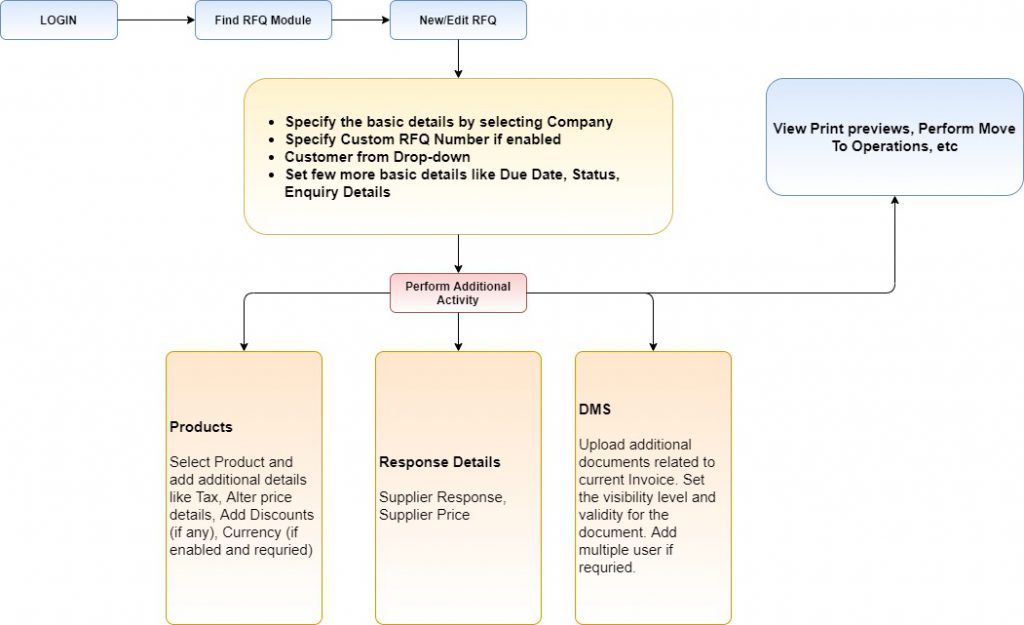
Generalized flow of RFQ Module
This sums up the RFQ Module. We hope that you have fair bit of knowledge on how to use and handle the RFQ Module.