A sale is a transaction between two or more parties in which the buyer receives tangible or intangible goods, services, or assets in exchange for money. In some cases, other assets are paid to a seller. In the financial markets, a sale can also refer to an agreement that a buyer and seller make regarding the price of a security.
Regardless of the context, a sale is essentially a contract between the buyer and the seller of the particular good or service in question.
A sale determines that the seller provides the buyer with a good or service in exchange for a specific amount of money or specified assets. To complete a sale, both the buyer and the seller have to be considered to be competent enough to make the transaction. They also have to be in agreement regarding the specific terms of the sale.
In addition, the good or service that is being offered has to actually be available to purchase, and the seller has to have the authority to transfer the item or service to the buyer.
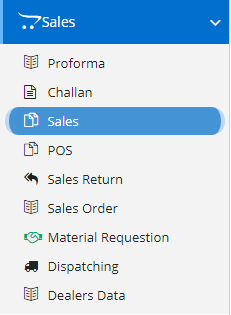
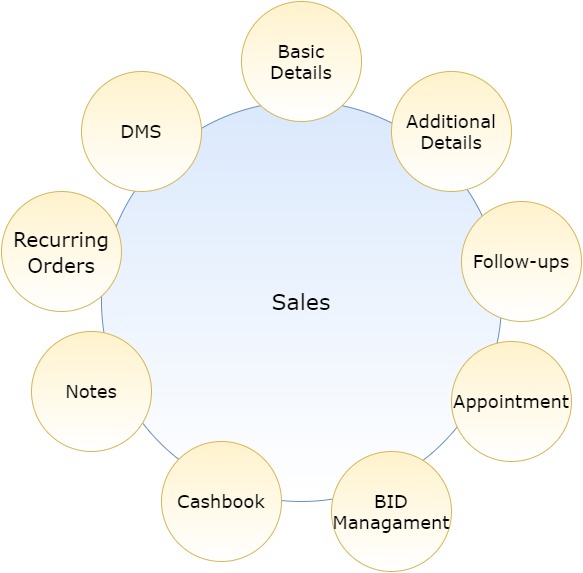
Modules included in this module. We haven’t shown Product as it is a default sub-section without which Sales is incomplete.
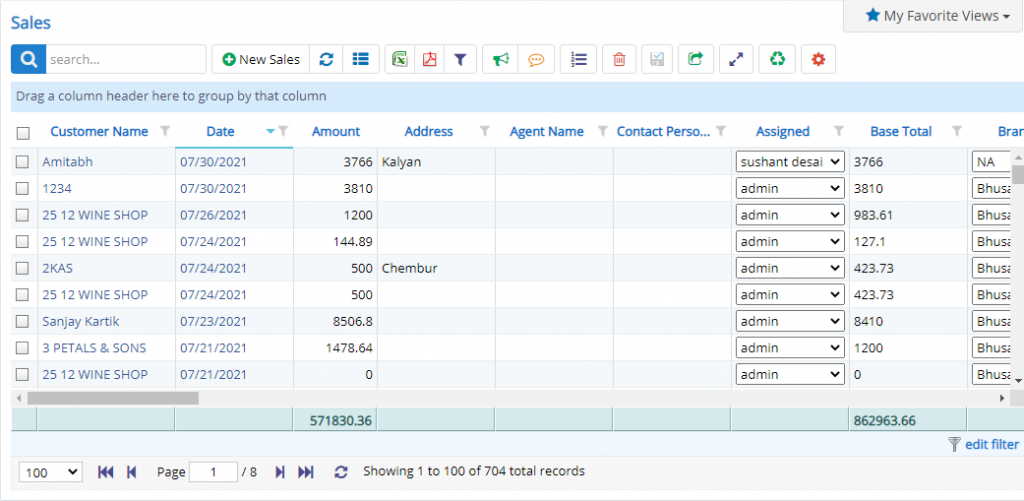
Here user can see the list of records already present in that form. Some common options like Excel export, PDF export, Filters, Detail view of Sales, bulk delete are provided here. These buttons/options are visible only when the permissions or settings are enabled.
Some fields in list are editable from list also, such as Status, source, Stage, Branch, Assigned to. Even these fields are editable only when certain permissions related to the fields are granted to the user else these are non-editable fields.
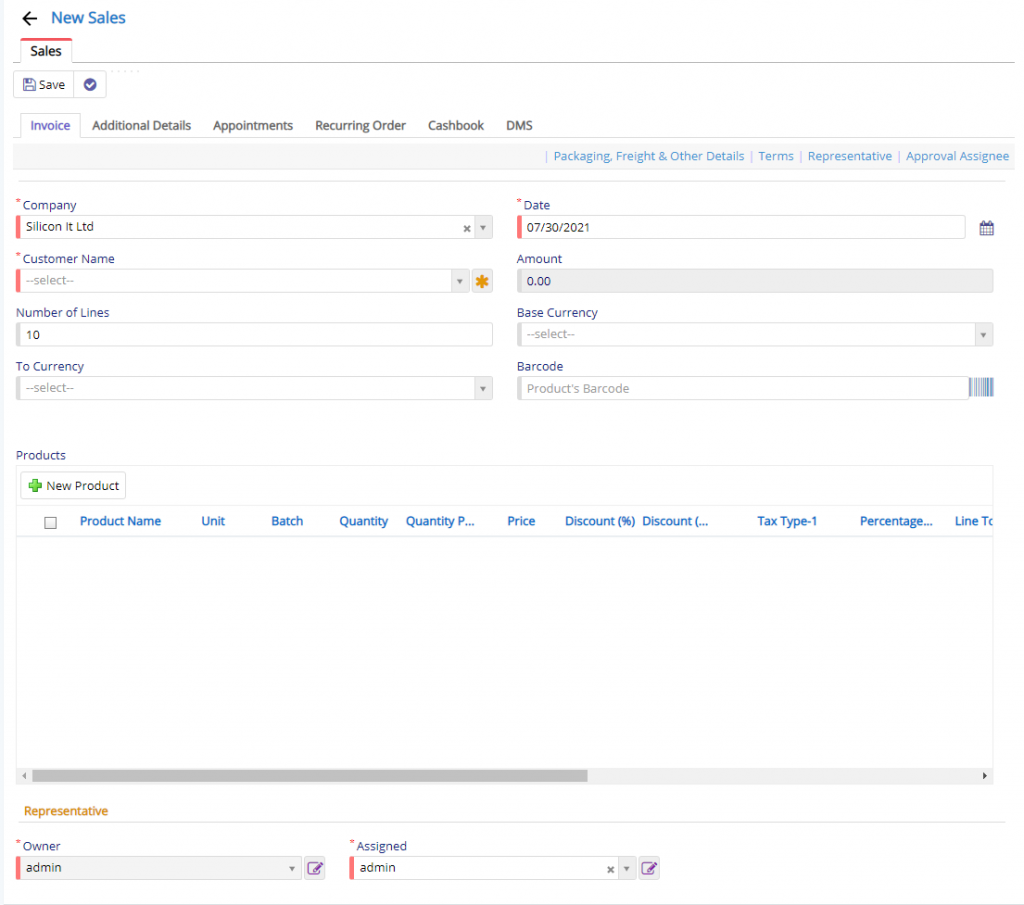
In this page project, company, proforma title, proforma number, Date, Customer name, Subject, reference, Currency details (will be visible when enabled in settings), Discount details, place of supply, Shipping address, SEZ, EPZ (will be visible if you enable and grant a permission to users), Printing options, Product details are entered.
Company field will be visible only when you have enabled Multi-company in Company Details and on top of that, if it is enabled in Proforma module.
Sales/Invoice Number is a custom number field. This field will be visible when the Custom number is enabled in Proforma Settings module. This is useful if you don’t want to use system generated sequence number instead if you want to continue with your own previous sequence number. This field will reset to 1 when the Financial year changes.
Similarly, SEZ & EPZ are too settings based and they are useful if you dealing with SEZ or EPZ based customers where, calculations are affected as Taxes vary when they are enabled.
Approval fields will be visible only when One or Two Approval mechanisms are enabled.
Reset of the fields are quite self-explanatory.
The fields which are visible here may not be visible to you since these are settings dependent fields. They may be kept disabled or hidden as it not important to your business flow.
Now when you click the New Product button, it invoke a new window as shown below –
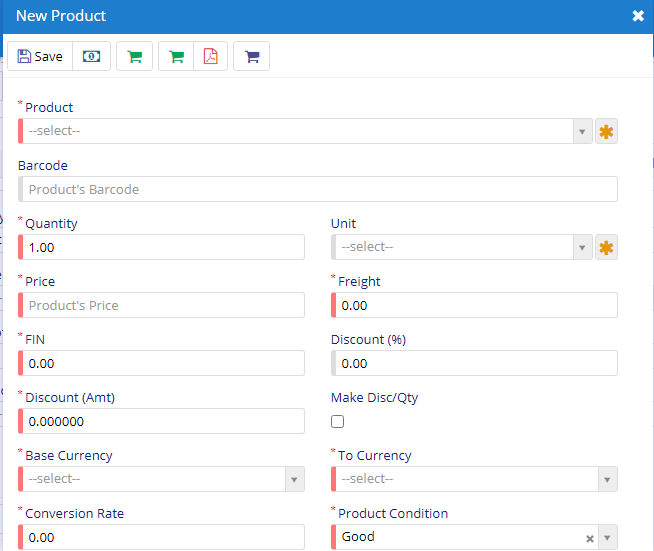
Product field will allow you to select a Product from Product Master which is already defined. This will also populate the required fields and yes, you modify that too.
Code field will also work in the same way. Product and Code can used interchangeably. The action to this field is very much similar.
Barcode field will allow you to add the product using a Barcode attached to a product. This will reduce your mouse clicks and tabs. This will perform the same action as that of Product and Code field.
Reset of the fields like Quantity, MRP, Base price, Fright, Fin, Disc. %, Amt, Tax details, Currency details, Warranty details can be set by the user based on his/her business needs. These fields will be visible only when the settings or permissions are allotted to the user.
Along with this, in this dialog, you have option for Currency Conversion, Purchase History for the selected product, Godown details of selected product, options are provided. Also, provision given for select product condition and grade. (linked to product Grade master)
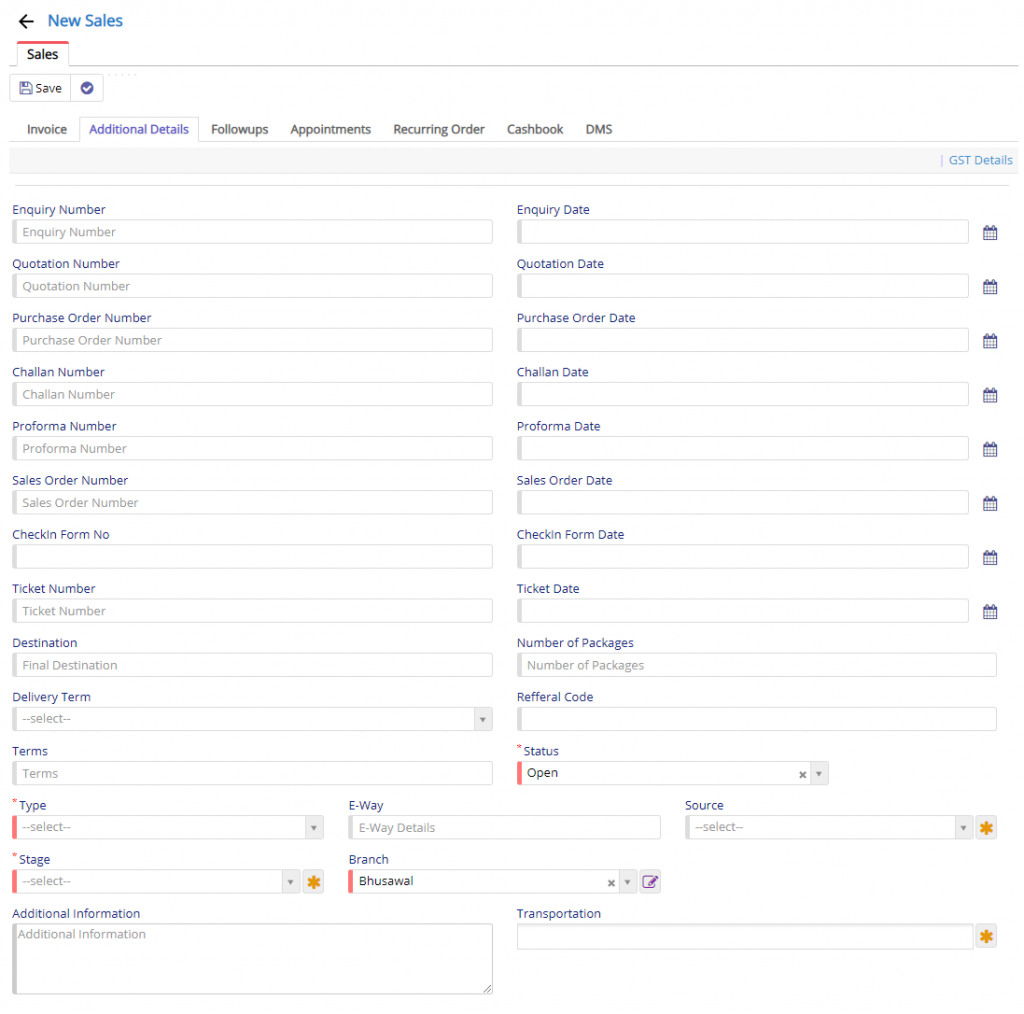
In this block, you have all the reference fields for module like Enquiry, Quotation, Challan, Sales Order and Purchase Order. These fields will be automatically populated when you move an entry to Sales. Say, if you move an entry from Enquiry to Sales, then Enquiry Number and Date will auto populated. Enquiry Number or any other numbers related to modules are setting dependent. If the Custom number setting is enabled in respective settings of module then, based on the setting the number will be populated.
E-Way Details should be added if you are using GST [Indian Continent] settings in Company Details.
Rest all the fields are pretty self-explanatory.
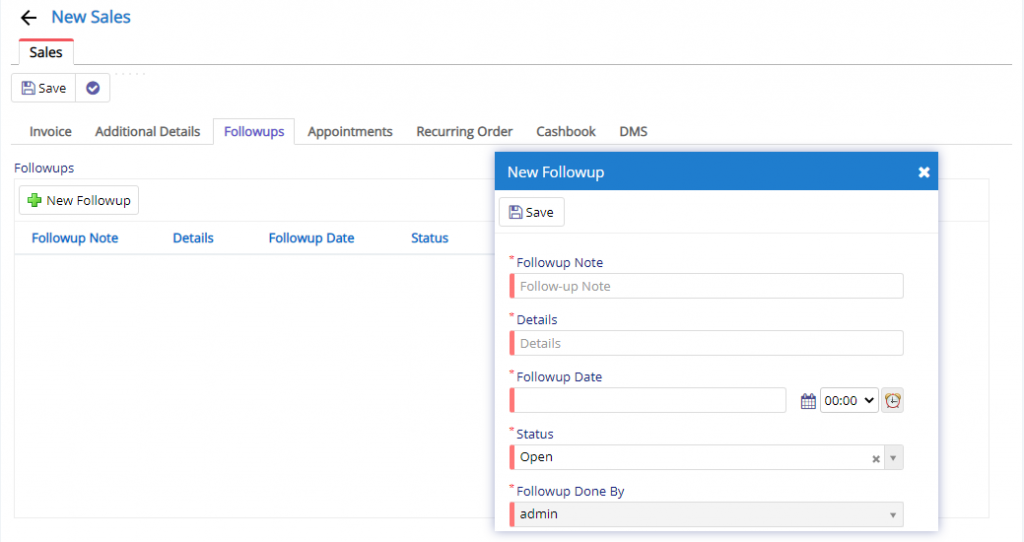
The follow-up section, consist of a grid or table like structure. When you click New Follow-up button, this will invoke a new dialog as shown above. Here, the user can specify the title and details about the follow-up task. Finally, you can set the user, date and status for the same.
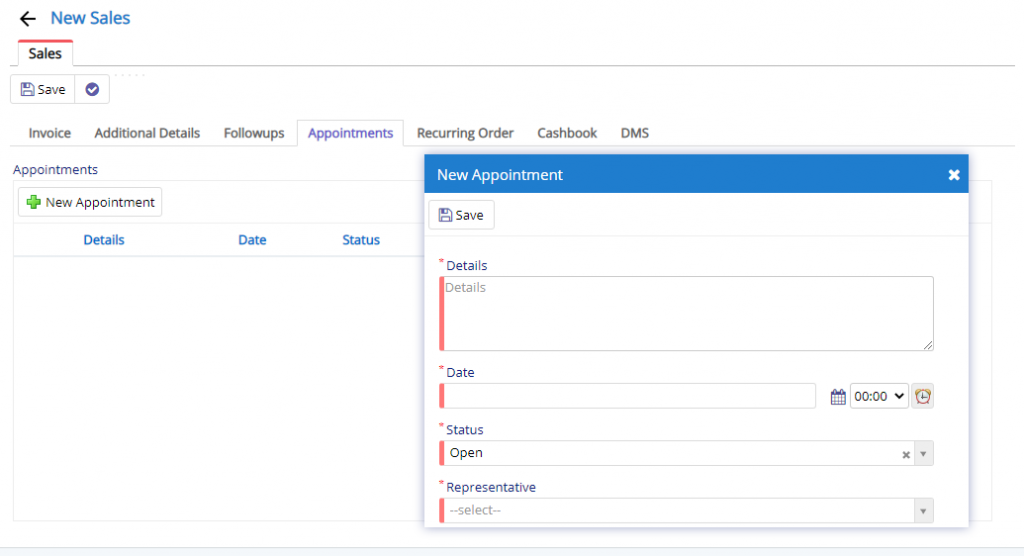
The appointment section, consist of a grid or table like structure. When you click New Appointment button, this will invoke a new dialog as shown above. Here, the user can specify the title and details about the Appointment task. Finally, you can set the user, date and status for the same.
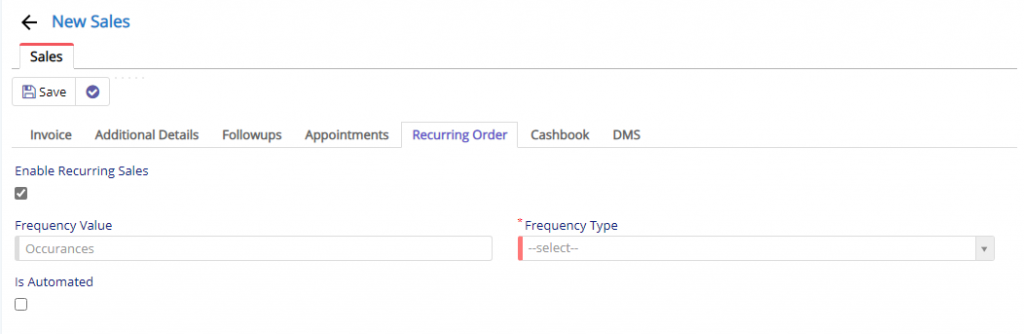
Recurring section is used to create the Sales wrt Frequency specified. This feature can be used if you have recurring customer with same products. This will automate the process and instruct the Nafhaa Engine to automatically create the same without any user intervention.
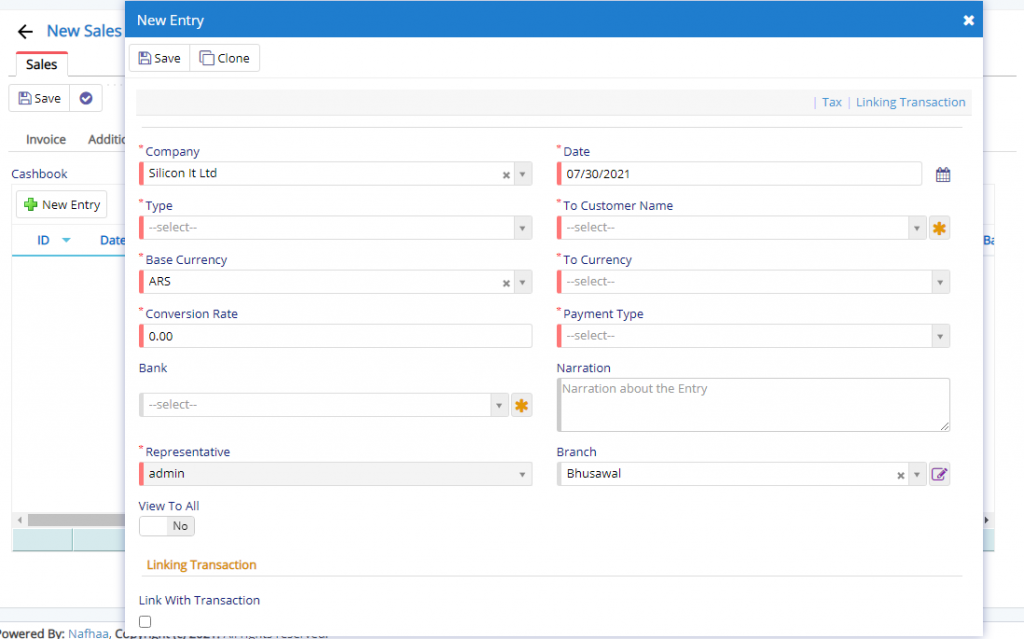
Next the Cashbook tab using which you add and entry to Cashbook regarding the Payment received by the customer against the Sales Invoice and the same can be done by enabling the switch as Link with Transaction. Cashbook dialog or window is very much the same as we have seen in actual Cashbook module.
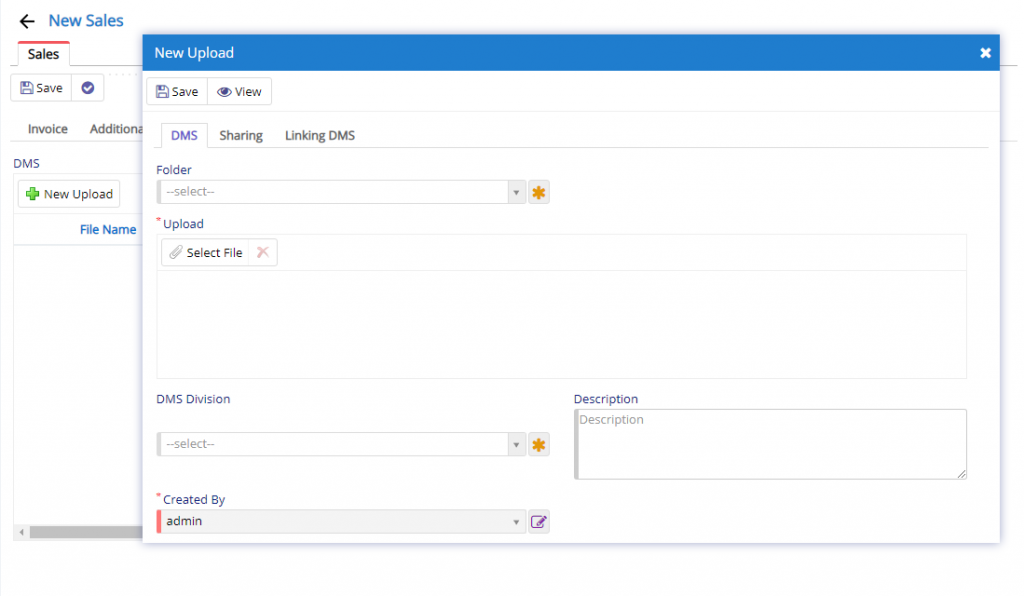
This section is visible under DMS Tab in Sales. To view and use the same you will need to enable in from Company Details under Settings tab.
This section will allow the user additional documents if needed and they have exhausted the four attachment fields that are provided. This will link the upload data with the Sales entry.
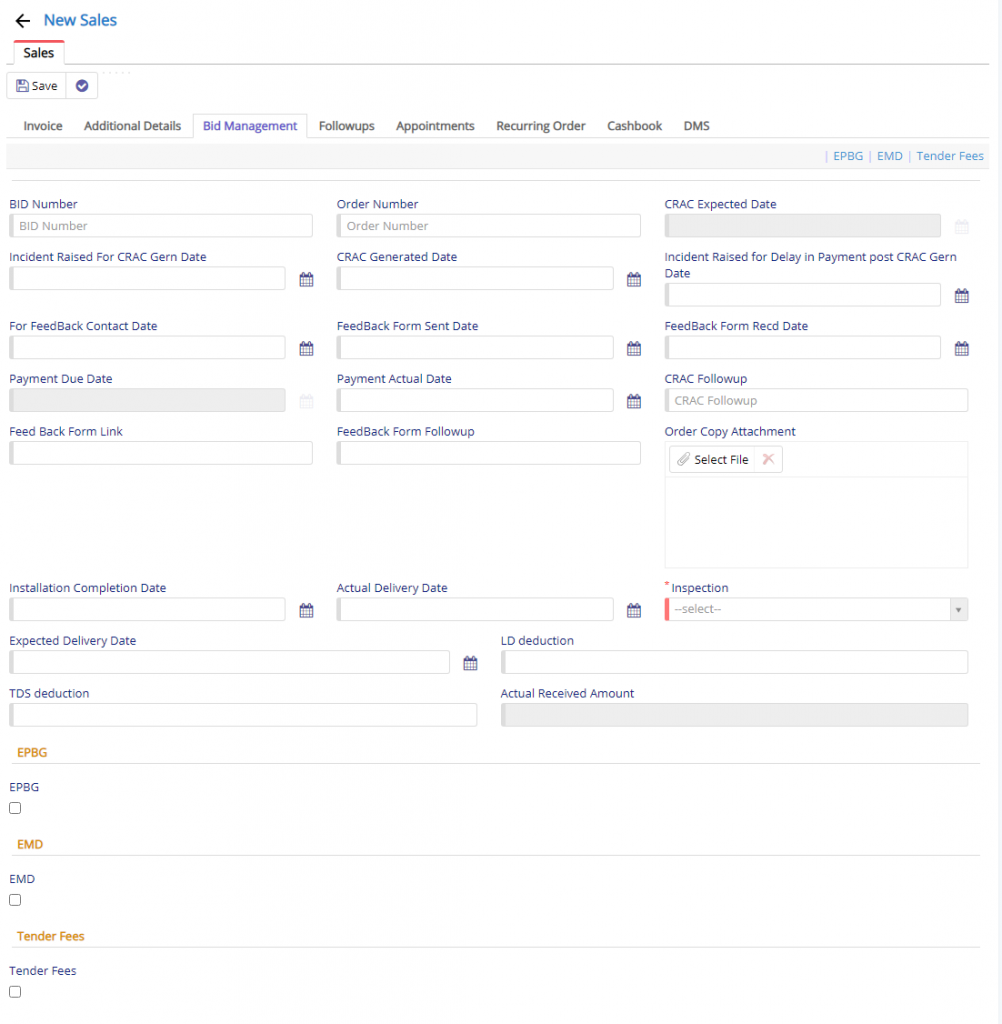
- BID Number will allow the user to specify the sequence number for the received BID.
- Reverse Auction Number will allow the user to specify the RA number which is generated.
- BID Start, End, Open and Quoted Date fields will allow the user to specify the required dates for the BIDs to process.
- BID Quoted Status, Financial Status Result fields will allow the user to specify thy status of Quote along with the Financial Status and finally with the results status for the BID. This will allow the user to manage the BID.
- L1 Price, Brand Quoted by L1 and L1 Name deals with the pricing, brand assigned to BID and finally, the name of L1 person or entity who is handling the details related details for L1 Biding.
- L2 Price, Brand Quoted by L2 and L2 Name deals with the pricing, brand assigned to BID and finally, the name of L2 person or entity who is handling the details related details for L2 Biding.
- BID Installation fields will allow the user to set the conditions or status of the BID.
- Inspection fields will allow the user to set the status of inspection if required.
- Export Performance Bank Guarantee (EPBG) field will allow the user to specify related amount and refund status.
- Ernest Money Deposit (EMD) field will allow the user to specify related amount and refund status.
- Tender Fees as the same is quite self explanatory and deals with fields where the user can specify the amount and refund status field.
BID Management Tab will be visible only when, settings are enabled. This feature is Business specific and it is not available in general sales flow.
Installment Tab
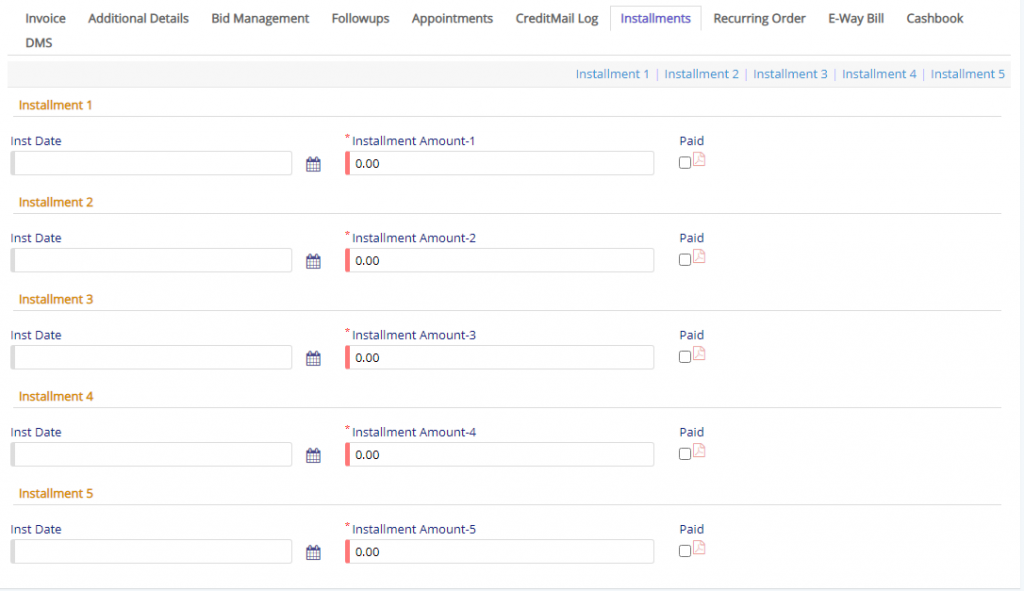
Installment tab will allow the user, to mark the payment made against the Sales Invoice and a direct entry is made to Cashbook module when, paid check-box is checked. Finally, the user will be able to print the receipt generated against the installment received.
Following are the list of settings attached to Sales Module:
| Remove Round up |
| Remove Packing |
| Remove Freight |
| Remove Due Date |
| Remove Dispatch in Sales |
| Remove GST Details |
| Remove Follow=up |
| Remove Terms |
| Remove Advance |
| Remove Stage |
| Remove Code |
| Remove Serial numbering |
| Remove Discount |
| Remove Tax Details |
| Remove description |
| Enable for Stock Transfer |
| Hide description in Sales |
| Enable custom Invoice Numbering |
| Enable Invoice Discount |
| Enable Labour |
| Hide tax column in Sales Print |
| Hide Total tax |
| Enable followup amount check |
| Enable OTP Validation |
| Enable Check and forward |
| Hide Invoice Type in Sales |
| Hide Place of Supply |
| Hide reference no and date fields |
| Hide installment |
| Hide followup |
| Hide credit log |
| Remove default footer |
| Enable Signature |
| Enable Grade |
| Enable Category |
| Make warranty Compulsory in Invoice and Proforma |
| Enable Auto Outstanding EMail |
| Enable QR Code for payment |
| Hide warranty Details |
| Enable Bid Management in sales |
| Enable Auto Mail To Vendor after Sales Approval |
| Enable existing contacts in POS |
| Hide number of lines in sales |
| Hide shipping Address in sales |
| Hide SMS EMail button in sales |
| Hide availability in Sales |
| Hide note Tab in Sales |
| Hide Code in Sales |
| Hide serial in Sales |
| Hide MRP in sales |
| Hide base price in Sales |
| Enable Auto Mail To Customer On Approval in sales |
| Auto GST inclusive in sales |
| Enable H-Form in sales |
| Hide contact person |
| Enable Types of Sales |
| Hide Product |
| Enable Vendor |
| Enable extra details |
| Enable Vehicle No in sales |
| Enable Additional description in sales Products |
| Enable No of training in sales |
| Make products mandatory |
| Auto generate serial no in sales product |
| Enable Port of Loading, Port of Discharge And Carriage By |
| Enable Eway bill generation in sales |
| Enable LR No |
| Enable current outstanding amount in sales print |
| Enable Title of Invoice |
| Enable Attachment |
| Enable Triplicate print in sales |
| Make Auto challan for Free Item |
| Enable TCS in sales |
| Hide Phone in POS |
| Enable AutoMail Credit Due |
| Enable Commision sales |
| Commission |
| Auto Select vender |
| Vender |
| Enable Default Assignee For First Approval in sales |
| First Approval should be assigned to |
| Enable E-Commerce Channel in Sales |
| Set Sale Price as per Purchase |
| Enable Quantity in Case and Nos in sales |
| Enable schemes in sales |
| Enable Discounted VAT calculations in sales |
| Enable FoC in sales |
| Enable Display MRP in sales |
| Make source field required in Sales |
| Enable Product Sub Division in Sales |
| Make discount percentage ReadOnly for sales |
| Auto Set Assigned To of Contacts in Sales |
| Sale Type |
| Enable paid Amount in Sales |
| Enable Sales deduction Type |
| Enable Sales Term from Master |
| Enable Multi Assign in Sales |
| Show Id in sales |
| Enable Customer payment term in sales |
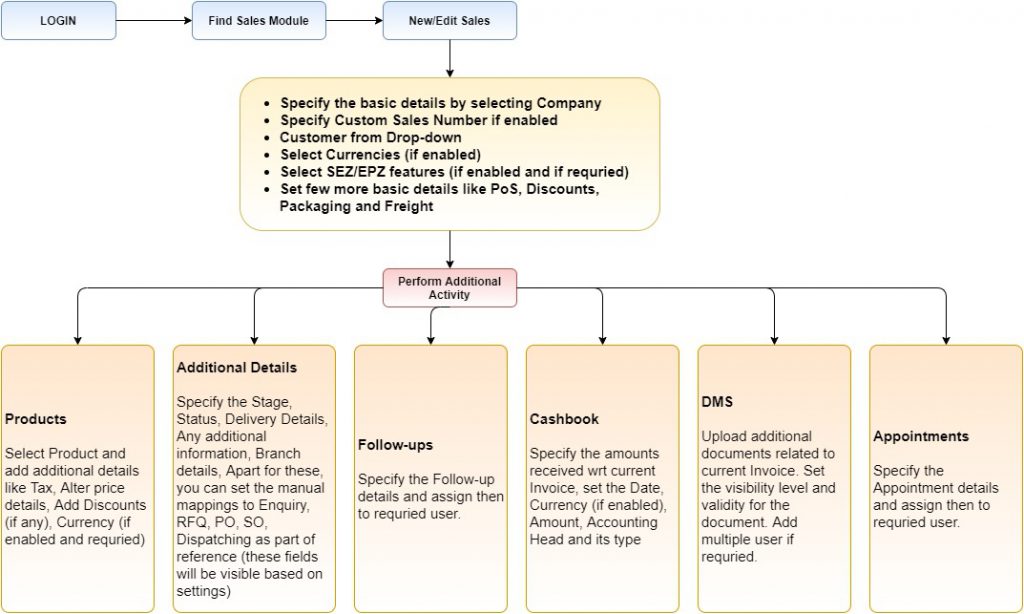
Generalized flow of Sales Module
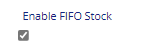
First In First Out (FIFO) Mechanism For Stock
This is new feature added in Sales module. Generally in some of business the First Come stock will be Consumed First. FIFO means the company sells the oldest stock first and the newest will be the last one to go for sale.
To incorporate this functionality in Nafhaa setting is given in Products settings as shown below.
Lets see how it works:
- While purchasing products, serial number must be generated, so that these serial numbers can be used for Sales FIFO methodology.
- Purchase serials can be generated through the setting: EnableBarcodeGenerationInPurchase. It indicates when purchase record created with 5 quantity then 5 serial number will be generated.
- While sale for the same products, it will fetch list of Purchase Serials for product and as per quantity requirement it will be used.