Telecalling module is exclusively used to perform cold calling to probable customers from a list acquired by various sources like Yellow Pages, Sulekha, etc. After populating it the user can be assigned to each of them and the user can perform cold calling.
This module is part of Business Development –> Tele-calling.
You may also check-out Telcalling Automator module to simplify call assignment to the user(s) here.
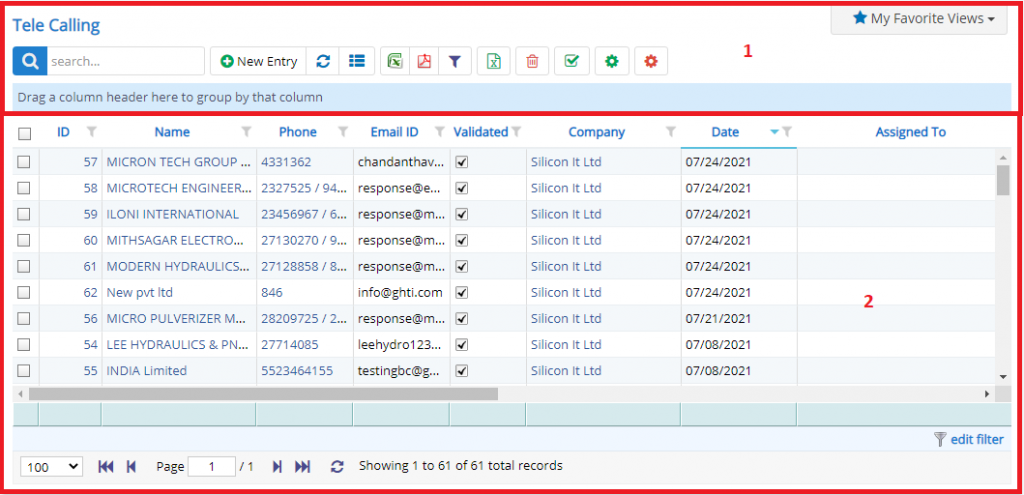
- Annotation – 1 shows few elements like Search, New Enquiry, Refresh and Column Selector (will describe later in the chapter).
- Search Text box is used to search a specify or similar users form the list below. When you start entering characters it will start searching within the Tele-calling Module.
- Refresh Button is used to reload the Tele-calling Grid or Table so that the changes which are made to any user will be reflected on the grid.
- Column Selector is used to select one or multiple columns from the range of columns. Following is the image for the Column selector. Note – The columns shown in the filter will keep on changing as and when Nafhaa Platform makes changes to the module.

- The next two buttons are for downloading the Tele-calling Grid as Excel or a PDF. These files will contain all the columns are which are visible in Tele-calling Grid.
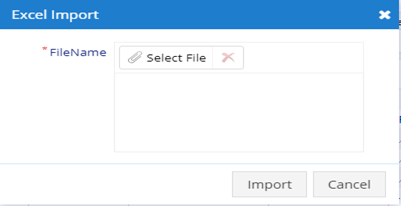
- The next button is Telecalling Data which is used to upload Tele-calling data using an Excel format using following screen.
- The last red button under this section is the settings button which will invoke a new dialog showing the Tele-calling settings Module. This button will be visible only if, the user has the permission.
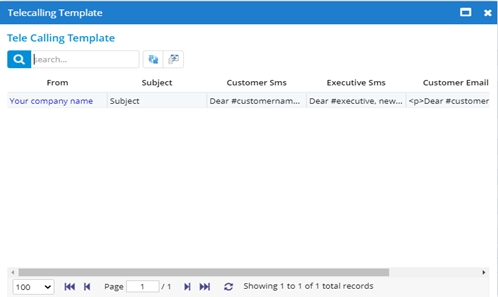
- The next button under this section is the settings button which will invoke a new dialog showing the Tele-calling Template Module. This button will be visible only if, the user has the permission.
- This filter will button deal with various filters. Using these filters, you filter the Tele-calling Records and view only which are required. Filters with drop-down feature for the fields like Name, Status, Stage, etc are few to name. On the other hand, fields which deals with Dates are given two fields as a part of Date range selection. You can use these filters in combination to filter the records.

- Annotation – 2 shows the list of all the Tele-calling that have been created where the user can click record to open it and edit it if needed.
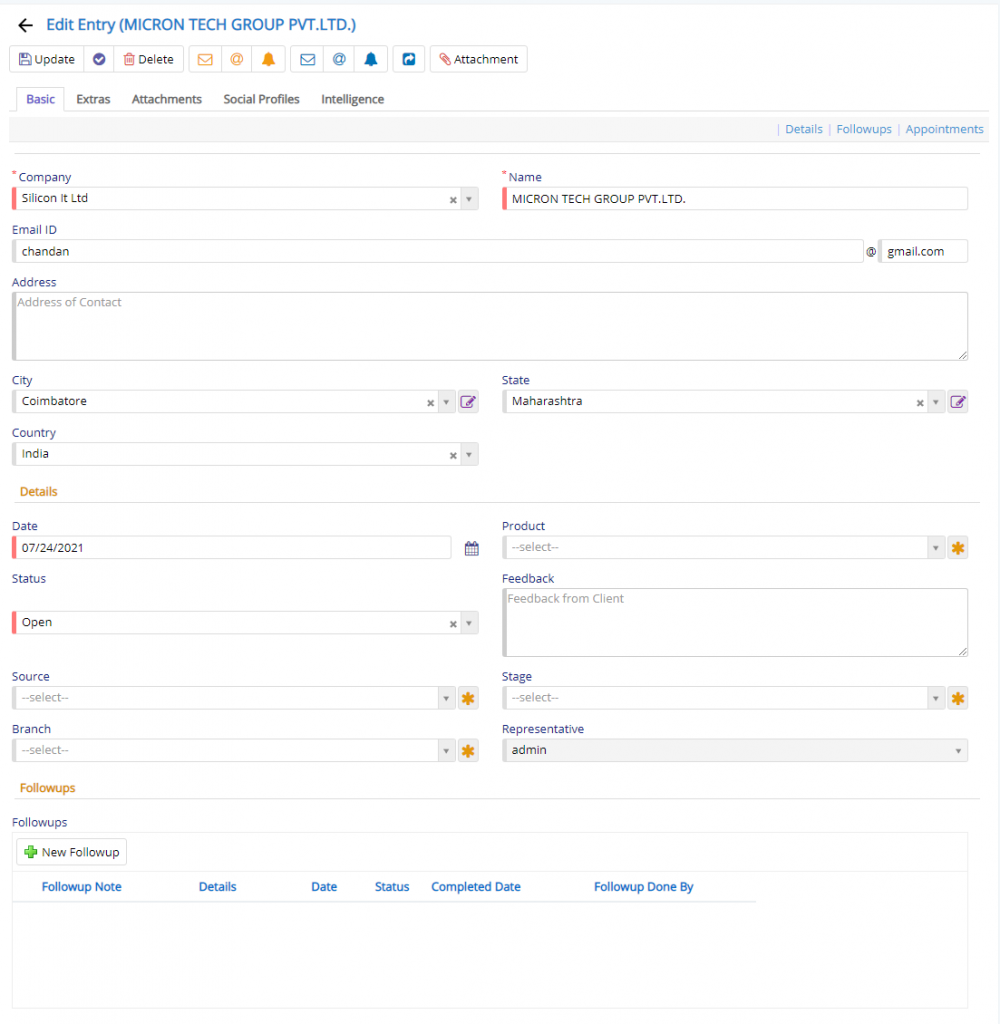
- Starting from the left is the Update button which is used to update the changes that you have performed. This button will change to Save when you are creating a new Entry.
- The Next button which is similar to Update button but the only difference is that, it performs the Update operation and remains on the same page. But the later Updates or Save and returns to the Grid displaying List of users. This button will change its meaning when you are creating a new entry. It will be called as Apply changes.
- The Next button is for Delete, this will delete the selected record from the database.
- SMS Customer button will send a SMS to the selected contact containing the information about the product.
- SMS Executive button will send a SMS to the selected Representative containing the information about the tele-calling entry.
- Email Customer button will send an Email to the selected contact containing the information about the product.
- Email Executive button will send an Email to the selected Representative containing the information about the tele-calling entry.
- Reminder Executive button will send a reminder SMS to the selected Representative containing the information about the tele-calling entry.
- Reminder Customer button will send a reminder SMS to the selected contact containing the information about the product.
- Move to Enquiry button will move the current Tele-calling entry to Enquiry if the entry is genuine and if the customer is really interested in the service.
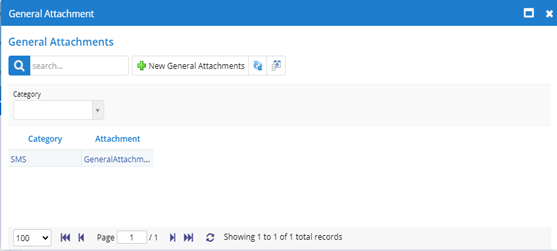
- General attachment button will invoke a new dialog for selecting attachments which are available.
Now that we have completed the buttons we have a look at the fields available in Tele-Calling module.
Refer, the image above.
- Firstly, we have the Customers name and then its phone. Date represents when it was added to the Tele-calling module. Next, is the product for which the customer is interested. Status shows the status of the Tele-Calling entry. Source and Branch denotes from which source the contact or entry was obtained and belongs to which branch. Stage denotes in which stage it is currently. Representative denotes to which user it is assigned.
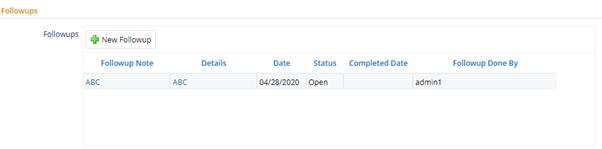
Finally, we have the follow-up section where the Representative can schedule a follow-up with the customer. This will help the Representative to understand how many times the follow-up is done before moving it to Enquiry if successful.
This sums on this Tele-Calling Module. We hope that you have fair bit of knowledge on how to use and handle the Tele-Calling Module.