This module entirely deals with Expenses that are accrued by the employees wrt travels, office expenses, etc. These all can be tracked using this module.
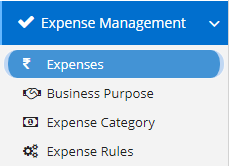
Modules included in this module

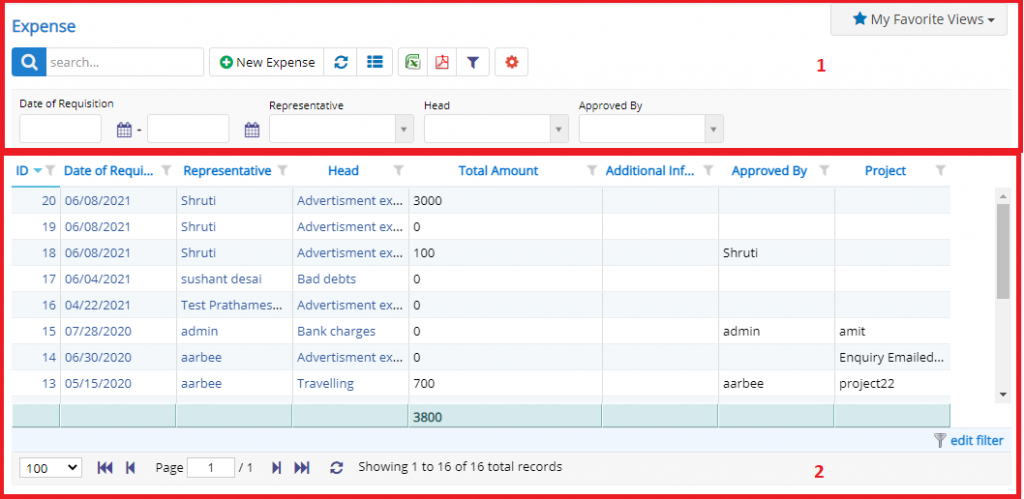
- Annotation – 1 shows few elements like Search, New Expense, Refresh and Column Selector (will describe later in the chapter).
- Search Text box is used to search a specify or similar users form the list below. When you start entering characters it will start searching within the Expenses Module.
- Refresh Button is used to reload Expenses Grid or Table so that the changes which are made to any user will be reflected on the grid.
- The Excel and PDF buttons are for downloading the Expenses Grid as Excel or a PDF. These files will contain all the columns are which are visible Expenses Grid.
- Filters with drop-down feature for the fields like Representative etc. are few to name. On the other hand, fields which deals with Dates are given two fields as a part of Date range selection. You can use these filters in combination to filter the records.
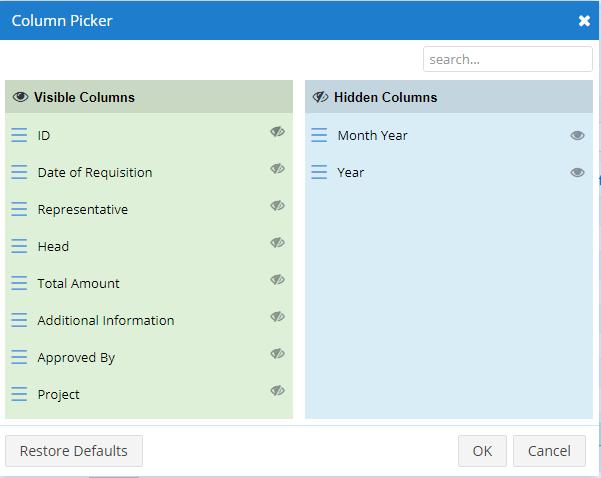
- Column Selector is used to select one or multiple columns from the range of columns. Following is the image for the Column selector. Note – The columns shown in the filter will keep on changing as and when Nafhaa Platform makes changes to the module.
- Annotation – 2 shows the list of all the Expenses records that have been created where the user can click record to open it and edit it if needed
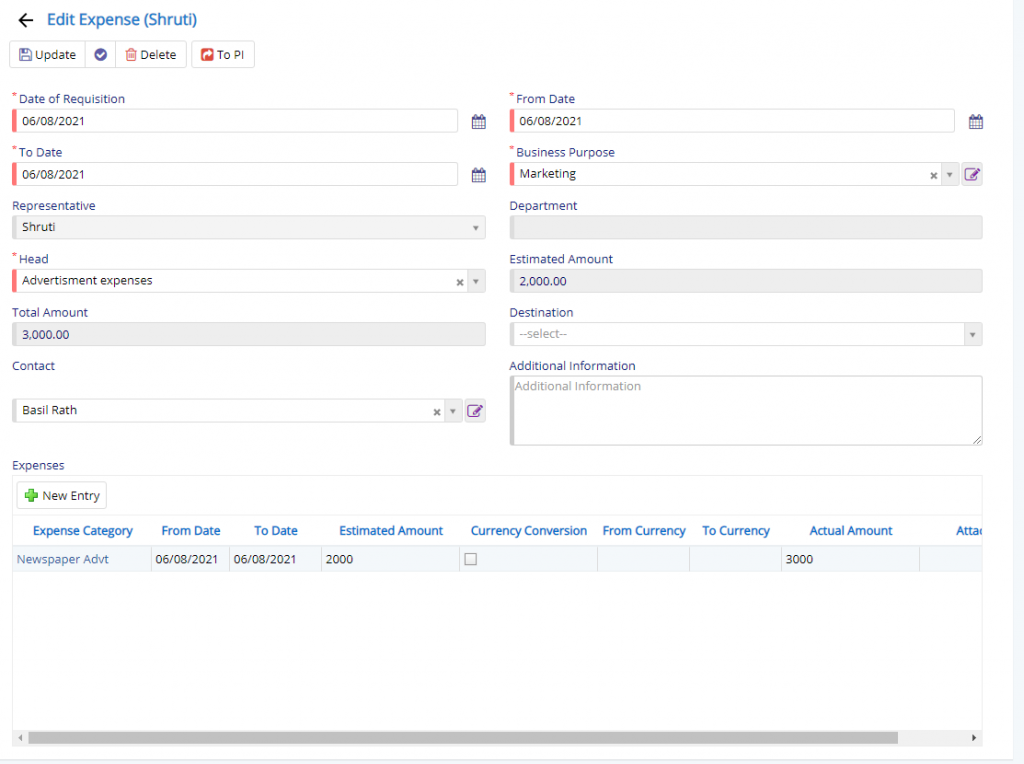
USer w

- Business Purpose field will allow the user to select the Purpose of Expense under which it will be categorized.
- Head or Ledger field will allow the user to select Account Head under which the expense will be recorded.
Rest of the fields are pretty much self explainatory.
When the user clicks, New Entry button a new dialog will be invoked where, the user will be able to add the expenses. Here, we opened the existing record.
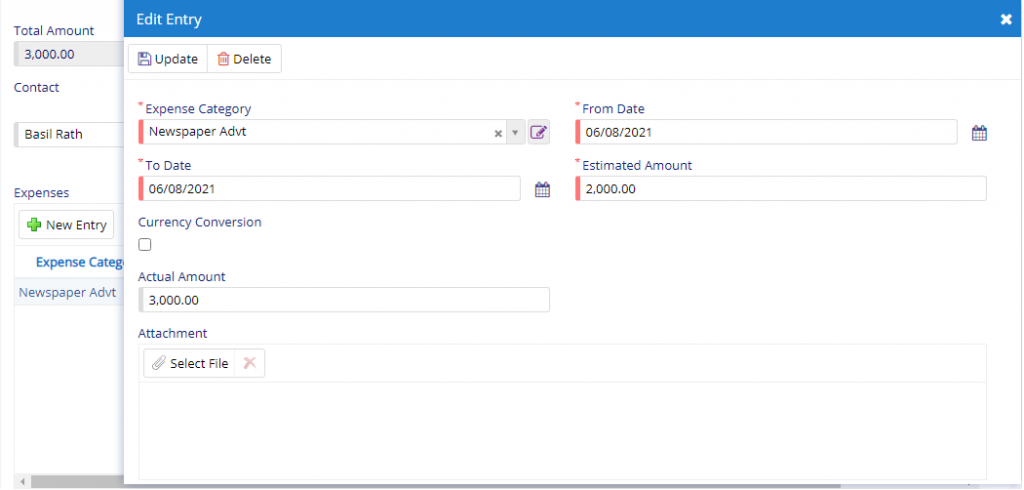
Here, the user will have to specify the Category under which the expense should be recorded.
From and To Date are important field which is essential.
Attachment field is also provide where the user can upload the relevant document related expense.

- Starting from the left is the Update button which is used to Save the changes that you have performed. This button will change to Save when you are Creating an Entry.
- The Next button which is similar to Update button but the only difference is that, it performs the Update operation and remains on the same page. But the later Updates and returns to the Grid displaying List of RFQ . It will be called as Apply changes.
- The Next button is for Delete, this will delete the selected record from the database.
- Move to Proforma button will allow the user to move the expense to Proforma for further processing.
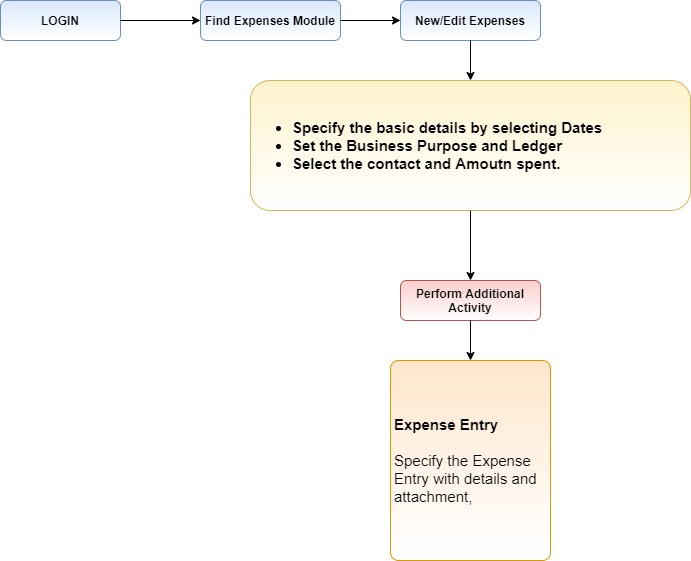
Generalized flow